
Finish Is the Product
A laser cut is precise, but the edge can scorch and the grain can raise. How to finish and paint laser-cut wood projects is what turns a raw part into something a customer keeps. Finish is not optional; it is the product.
A consistent finish also hides minor char and makes a run look uniform.
Clean Before You Coat
Wipe the part to remove smoke residue and ash. A tack cloth or mild alcohol wipe prevents a cloudy finish. Light sanding on the cut edge smooths any roughness.
Masking before cutting already helped; after cutting, peel the mask and the edge stays light.
Seal and Stain
Raw plywood edges soak finish unevenly. Seal with a thin clear coat or sanding sealer, then stain or paint. A sealer keeps the color even and the grain controlled.
For a natural look, a clear matte coat protects without shine. For color, primer then paint reads cleaner than paint on bare wood.
Paint for Pop
Spray or brush a thin first coat; thick paint pools in engraved detail. Two thin coats beat one thick one. Acrylic paint on wood holds well after sealing.
FAQ
Why does edge look dark? Scorch; mask before cutting and wipe after.
Matte or gloss? Matte reads premium; gloss pops color.
Make It Look Bought
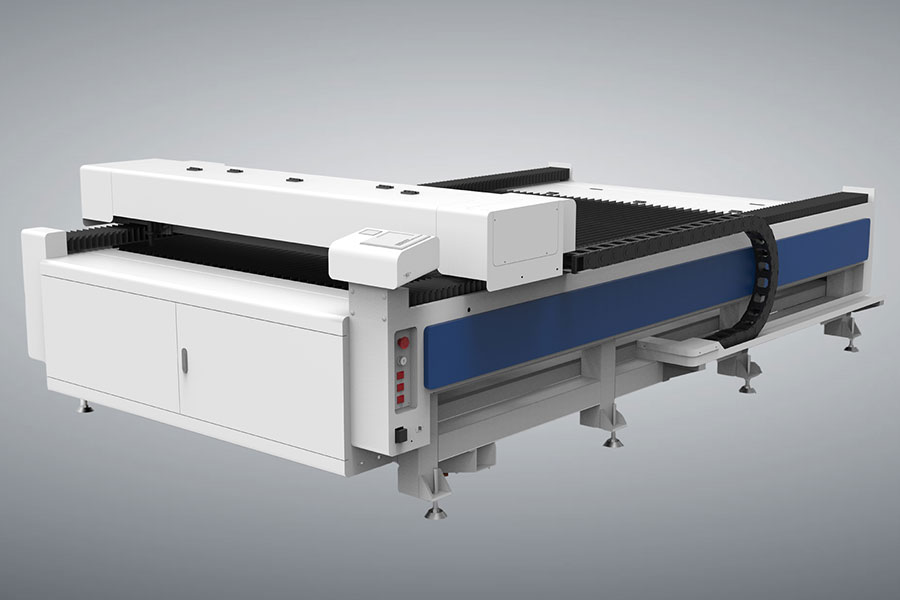
Finish turns a laser part into a product. Clean, seal, then coat in thin layers, and the run looks store-bought. Our Laser Cutter range cuts the wood; for production panel work see HF Laser.

- National hotline: +86-531-86516855/56/57
- Enterprise mailbox:sales@redsaillaser.com
- Address: Room 402E, Tower D, Yinhe Building, 2008 Xinluo Avenue, Shunhua Road Subdistrict, Jinan Area, China (Shandong) Pilot Free Trade Zone


Redsail Tech Co. © 2002-2026. All Rights Reserved.