
Why Wood Is the Best First Material
If you just unboxed a CO2 laser and are not sure where to begin, wood is the friendliest place to start. It cuts and engraves cleanly, the offcuts are free if you keep a scrap bin, and almost any shape you draw becomes a real object in minutes. The projects below are all doable with scrap timber and basic settings, so you can build confidence before tackling tricky materials like acrylic or fabric.
These wood laser projects also double as your first shop inventory. Name tags, signs, and small gifts are exactly what sells at markets and online, so the learning curve and the earning curve line up nicely. Set aside an afternoon, pick a few from the list, and you will have finished pieces by dinner. Wood also forgives mistakes: a sanded edge hides a slightly off cut, and a test square costs nothing from the offcut pile.
1. Personalized Name Tags
Cut small rectangles or shaped blanks from 3 mm ply and engrave a name on each. They make great luggage tags, plant labels, or favours. Use a corner hole and twine so they hang, and keep text bold for a clean read. Batch a dozen with different names for a market display that shows range.
2. Wall Signs
A short quote or a surname on a plank of pine is a classic first maker projects win. Engrave rather than cut through for speed, then stain or paint the recessed letters. A pair of keyhole hangers on the back makes it wall-ready, and a framed version sells higher than a bare plank.
3. Drink Coasters
Cut 90 mm squares or circles from cork-backed plywood and engrave a monogram or pattern. Seal the surface with a matte spray so cups do not stick. A set of four in a box is an easy gift listing, and coasters are the rare wood item that sells all year, not just at holidays.
4. Jigsaw Puzzles
Take a photo, engrave it onto 4 mm board, then cut the same file into interlocking pieces. Maple or birch ply holds the detail best. Keep pieces large for young kids and smaller for a tougher adult puzzle. A custom photo puzzle is a strong personalised gift with real margin.
5. Small Keepsake Boxes
Cut a lid and four walls with finger joints from 3–4 mm wood, then glue up. Engrave the lid with a name or date. These boxes are perfect for rings, trinkets, or a handmade proposal, and the jointed construction looks far nicer than a nailed one.
6. Christmas Ornaments
Cut stars, trees, or rounded shapes and engrave a year or initials. Use 3 mm ply so they are light on the branch, and add a small hole for ribbon. They sell fast every holiday season, and a mixed bowl at a table invites impulse buys better than a single design.
7. Keychains
Cut slim shapes or rounded tags, engrave a short word, and fit a split ring through a hole. Maple takes fine detail; add a clear coat so the art survives pocket wear. Make a rack of mixes to show buyers, since keychains are the cheapest entry point for a first purchase.
8. Recipe Boards
A standing board with a glued prop leg, engraved with a family recipe or conversion chart, is a popular kitchen gift. Use thicker stock for the base so it stands, and keep the writing large and legible. A recipe passed down the family, burned into wood, is a gift that outlasts the paper original.
9. Bookmarks
Thin 2–3 mm strips with a rounded top and a small cut window make tidy bookmarks. Engrave a quote or a name. They use almost no material, so they are ideal for using up narrow offcuts, and they pair well as a free gift with a larger order.
10. Phone Stands
A flat cut profile folds into a simple desk stand for a phone. Design the slot to your device size, cut from 4–5 mm ply, and score the fold line so it bends cleanly. A practical laser DIY seller that ships flat and assembles in a second, which keeps postage low.
11. Toy Cars
Cut a car body and wheels from scrap, then peg the wheels with a short dowel. Sand the edges so they roll smooth. Paint optional. A small fleet in a box is a hit with parents and at craft fairs, and the simple shape is a good first try at a multi-part glue-up.
12. Succulent Planters
Cut a small geometric pot or a tapered sleeve from 4 mm wood and glue the seam. Line it with a plastic insert for real plants, or use it dry for faux greenery. Engrave a care tag to match. A planter that starts as a flat cut file is a neat demo of what the machine can do.
A Simple First-Week Plan
You do not need to make all twelve in one go. A calm way to build skill is to spread the list across a few short sessions so each success feeds the next.
- Day one: cut name tags and bookmarks from scrap to learn focus and speed on thin ply.
- Day two: move to coasters and ornaments, which teach sealing and a cleaner edge finish.
- Day three: try a glued item like a box or phone stand to learn joints and assembly.
- Day four: engrave a photo puzzle or recipe board to practise raster depth and contrast.
- Day five: photograph your best three and list them, then reorder stock based on what sold.
This pace keeps the machine busy without overwhelming you, and it naturally produces a small catalogue instead of a pile of one-offs. Wood is forgiving, so treat the first week as paid practice and the keepers as inventory.
Tools You Already Have on the Bench
Beyond the laser itself, almost everything else is in a normal maker drawer. A good steel ruler and a sharp craft knife handle the few trims a cut leaves behind. Sandpaper from 120 to 400 grit knocks down any fuzzy edge in seconds, and a scrap of denim makes a quick polish on engraved maple.
- Clamps and a square help glue-ups stay true while the joint sets.
- Masking tape protects faces during cutting and peels off without residue.
- A soft cloth and a little oil are enough to finish most of the projects above.
- A phone camera in good light is your product shot; no studio needed to start.
Buying less gear means more of your budget stays in material, and the projects stay approachable for the next person who wants to learn from you.
Material and Setting Notes
Most of these beginner wood crafts work from 2–5 mm plywood or solid timber offcuts. Pine and poplar are cheap and cut easily; maple and birch give finer engraving. Always run a small test square on a new board to set speed and power, because density changes fast between species.
Keep a labelled scrap box by the machine so every offcut finds a use, and you will rarely pay for material on a practice run. That habit alone keeps a home shop profitable. When you move from scrap to bought stock, buy one sheet of a known brand and lock in its settings before ordering in bulk. Note the species, thickness, and winning numbers on the sheet edge so a later reorder matches the first batch exactly.
Frequently Asked Questions
Q: Do I need a big machine for these projects?
No. A desktop bed handles coasters, tags, and ornaments with room to spare. Only the wall signs and boxes need a larger format, and those can be sized to fit what you own, so start small and grow the bed later if demand calls for it.
Q: What wood should a beginner avoid?
Skip pressure-treated and unknown reclaimed timber, which can off-gas, and very oily exotics that resist a clean burn. Plain ply and pine are the safe, cheap start for wood signs and small goods, and they teach settings without wasting expensive stock.
Q: How do I stop burn marks around the cut?
Use sharp focus, a light breeze of air assist, and a little masking tape on the face. A quick scrape with a plastic card after cutting removes most residue before you finish the piece, and a coat of oil or lacquer hides whatever remains.
Start Your Next Project
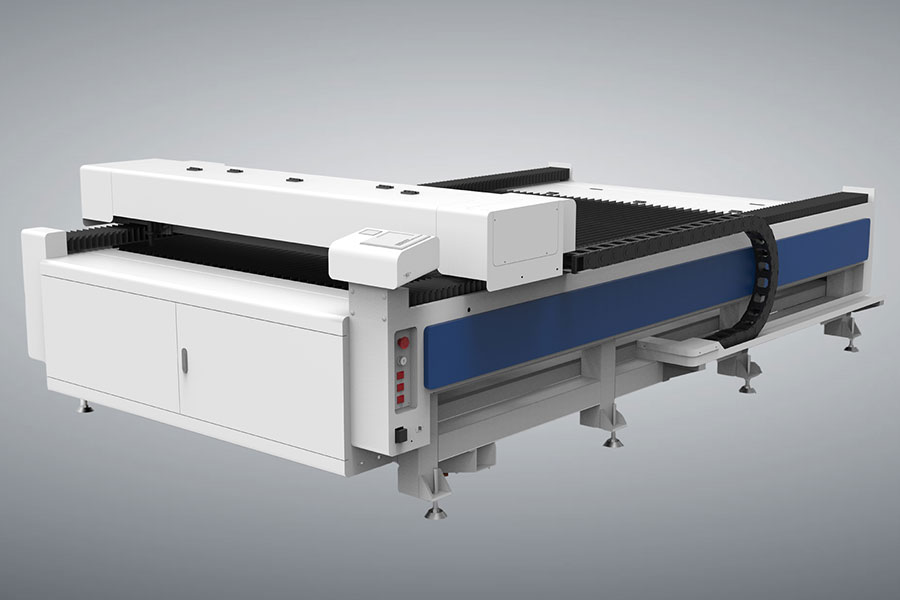
Choose three projects from the list, cut them from scrap this week, and you will have both the skills and the stock for your first sale. For higher-volume production cutting, see the HF Laser cutter line.

- National hotline: +86-531-86516855/56/57
- Enterprise mailbox:sales@redsaillaser.com
- Address: Room 402E, Tower D, Yinhe Building, 2008 Xinluo Avenue, Shunhua Road Subdistrict, Jinan Area, China (Shandong) Pilot Free Trade Zone


Redsail Tech Co. © 2002-2026. All Rights Reserved.