
Why Finishing Makes or Breaks Your Project
A clean cut is only half the job, because wood laser finishing is what turns a smoky-edged piece into something that looks sold in a shop. CO2 lasers leave a thin layer of soot on every edge and a faint scorch halo around engraving, and if you ignore it the finish will look muddy and uneven. The good news is that the right prep takes minutes and dramatically improves both appearance and durability.
For makers selling at markets or online, finishing is also where perceived value lives. A sealed, colored, and protected piece feels premium and lasts for years, while a raw one can warp or fade within a season. In this guide we cover the full chain — from cleaning soot to advanced resin inlays — so you can pick the level of effort that fits each project. Think of finishing as the difference between a prototype and a product.
Sanding and Cleaning the Soot
Start by removing the loose residue before any liquid touches the wood. A soft brush clears the bulk of the soot, then a lint-free cloth with a little isopropyl alcohol lifts the rest without raising the grain. Work gently around engraved areas so you do not smear carbon into the recessed lines, which would dull the contrast you worked to create.
Sanding smooths both the cut edge and the top surface. Begin with 220 grit to knock down fuzz and minor char, then move to 320-400 for a silky feel. If your engraving is shallow, sand by hand rather than with a power tool so you do not erase the detail. Always sand before sealing, because once a finish is on, soot becomes far harder to remove and the wood resists further smoothing.
- Brush loose soot, then wipe with isopropyl alcohol
- Sand edges with 220, then 320-400 grit
- Avoid power sanders on shallow engravings
- Wipe again after sanding to remove dust before finishing
Stains, Sealers, and Oils
Stain adds depth and warms the grain, but apply it only after cleaning so the color stays even. Water-based stains raise the grain slightly, so a quick 400-grit pass after the first coat keeps things smooth; oil-based options penetrate deeply and need less prep. Test on a scrap of the same sheet, because plywood and solid wood can take color very differently.
Sealing is what protects the piece long term, and you have several good options to seal laser cut wood. Polyurethane, whether brush-on or spray, builds a tough clear coat that resists moisture and handling, ideal for coasters and signs. Penetrating oils like tung or linseed soak in for a natural, low-sheen look that still guards against humidity. Wax is the lightest option, easy to refresh, but offers the least water protection for high-touch items.
- Water- or oil-based stain tested on scrap first
- Spray polyurethane for a durable, even top coat
- Penetrating oil for a natural handmade glow
- Wax for easy maintenance on low-wear pieces
Painting and Two-Tone Effects
When you want color, knowing how to paint laser wood cleanly matters more than the brand you choose. Spray paint gives a smooth, even coat on flat surfaces and reaches into engraved recesses if you mist lightly. Brush-on acrylic works well for controlled two-tone work, where you fill the engraved lines and then wipe the surface before the paint fully dries, leaving color only in the detail.
Edge char is the trickiest part to color. If the cut edge is dark, a light stain or paint will look blotchy, so either sand the edge back to bare wood or embrace the contrast deliberately. A popular technique is to stain the whole piece a base tone, paint the engraving a contrasting color, and seal everything together so the layers stay distinct. Thin coats beat one heavy pass, which can obscure fine detail.
- Mist spray paint in light layers for even coverage
- Fill engraving with acrylic, wipe surface before dry
- Sand or embrace dark cut edges for even color
- Seal after painting so layers stay separated
Resin Inlays and Advanced Touches
For a showpiece finish, tinted epoxy resin poured into engraved areas creates a glossy inlay that reads as professional. Engrave deeper than usual, around 0.5-1 mm, tape the back to stop leaks, and pour a thin layer of two-part resin tinted to your color. Once cured, sand the surface flush with 400-600 grit and polish for a glassy top. This is a favorite for jewelry and signs where you want a pop of color locked under a clear coat.
Other advanced moves include a clear powder-coat-style look using spray lacquer, or a weathered effect by dry-brushing a lighter tone over dark stains. Whatever you choose, let each layer fully cure before the next, because trapped solvents cause cloudiness under a top coat. Document your recipe on scrap so you can repeat a best-seller without guessing the ratios later.
- Engrave deeper for resin, tape back to prevent leaks
- Tint two-part epoxy and pour in thin layers
- Sand flush, then polish for a glassy inlay
- Cure each layer fully before adding the next
Durability and Care
A well-finished piece should survive handling, gifting, and display for years. For items that see moisture, like coasters or trays, build two to three coats of polyurethane and cure them for a few days before use. Paint and resin both benefit from a final clear sealer so they do not chip at the edges. Store finished goods flat in low humidity so thin wood does not bow.
If a piece ever looks tired, most finishes are renewable. Waxed items just need another rub, oiled pieces take a fresh coat, and painted work can be lightly sanded and re-sealed. That serviceability is a selling point you can mention to buyers, because it tells them the wood laser finishing you applied was built to last rather than just to photograph well once.
- Build 2-3 poly coats on moisture-exposed items
- Add a clear sealer over paint and resin edges
- Store flat in low humidity to prevent bowing
- Refresh wax or oil to extend a piece's life
Common Finishing Mistakes to Avoid
A few habits trip up even careful makers when they finish laser-cut wood. The biggest is sealing over soot, which locks carbon in and leaves a gray haze no top coat hides, so always clean first. Another is rushing the cure: brushing a second coat before the first is dry traps solvent and turns the surface cloudy or tacky for weeks. Give each layer the time the label asks for, especially in a cold workshop where drying slows down.
Over-sanding engraving is the quiet killer of detail, because aggressive paper erases the very lines you wanted to show. Sand by hand around marks and let a wipe-on finish do the smoothing. Avoid water-based products on thin plywood edges that can swell and lift the top veneer; an oil or spray route is safer there. Finally, do not skip the test scrap, since the same stain can look wildly different on birch versus a darker hardwood, and guessing wastes a finished piece you cannot un-burn. A small dedicated finishing station with scrap wood, cloths, and labeled bottles also keeps the process tidy so you actually finish pieces instead of abandoning them halfway.
Frequently Asked Questions
Should I seal laser-cut wood before or after painting?
Clean and sand first, then paint or stain, and seal last so the top coat protects every layer beneath it. Sealing before paint can block adhesion, while a final clear coat locks color and resists chips. Always let the paint cure fully before the protective layer goes on.
How do I stop the dark edge char from ruining light colors?
Sand the cut edge back to bare wood with 320-400 grit, or lean into the contrast as a design feature. Light stains and paints look blotchy over char, so test on a scrap edge first. A quick alcohol wipe right after cutting also keeps the soot from bonding as the wood cools.
Get Started
Grab a scrap of cut plywood and run through the clean-sand-seal sequence tonight to see how much a finish changes the result. When you are ready to produce finished goods in volume, the desktop machines at redsaillaser.com/Laser-Cutter.html give you the cut quality that makes finishing easy.
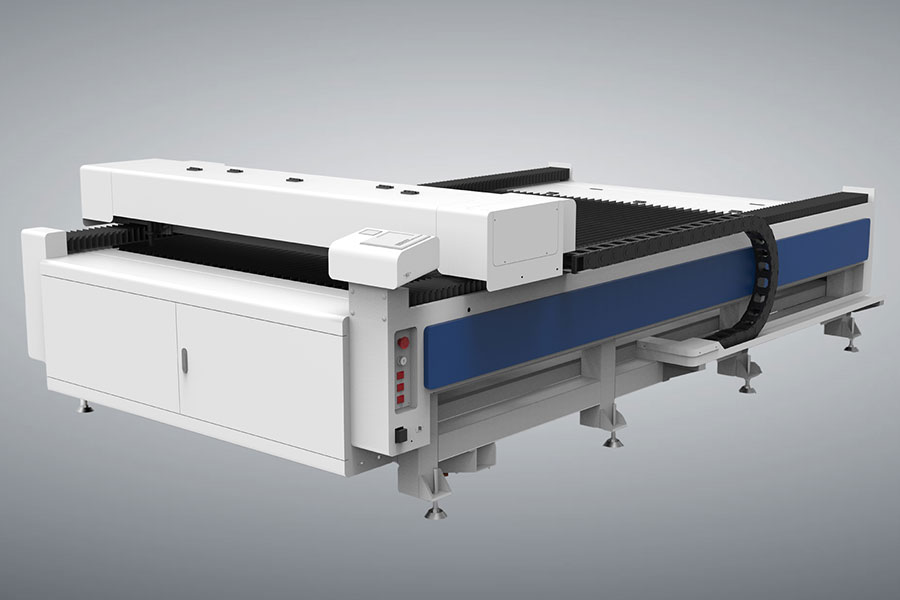
For industrial-scale production machines, see the HF Laser cutting machines.

- National hotline: +86-531-86516855/56/57
- Enterprise mailbox:sales@redsaillaser.com
- Address: Room 402E, Tower D, Yinhe Building, 2008 Xinluo Avenue, Shunhua Road Subdistrict, Jinan Area, China (Shandong) Pilot Free Trade Zone


Redsail Tech Co. © 2002-2026. All Rights Reserved.