
Why Drinkware Is the Best-Selling Laser Niche
If there is one product category that turns a desktop laser into steady income, it is drinkware. Tumblers, water bottles, travel mugs, and wine glasses sell year-round for gifts, weddings, corporate swag, and reunions. The catch is that these items are round, and a flat laser bed cannot focus on a curved surface without help. That is exactly what a rotary attachment solves.
A rotary roller spins the tumbler slowly as the laser head moves, letting the beam trace a straight, even line around the cylinder. Once you master it, personalized drinkware becomes one of the easiest high-margin products in your shop. The machines in our range at https://www.redsaillaser.com/Laser-Cutter.html support rotary add-ons so you can start this work on a desktop bed.
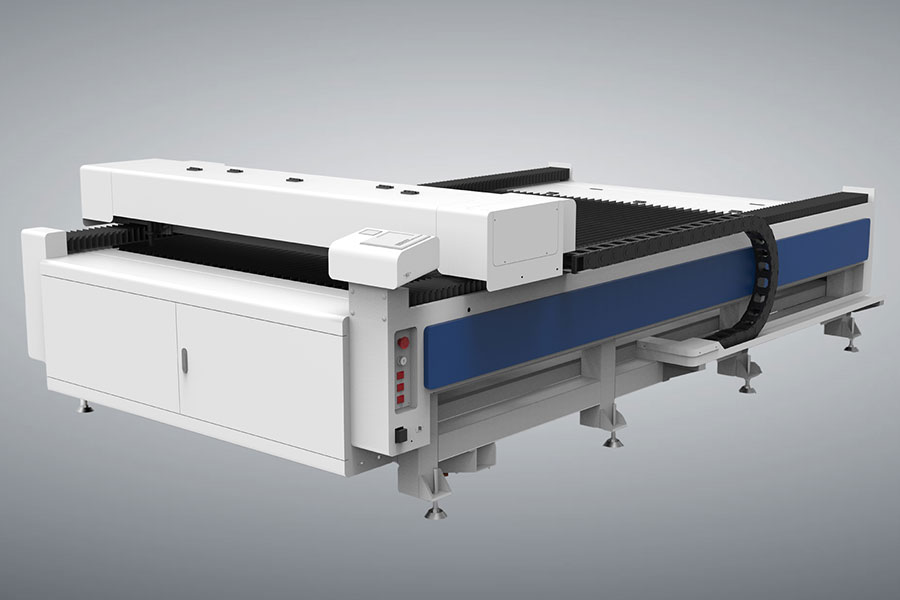
How the Rotary Attachment Works
A rotary attachment replaces or sits alongside the flat cutting bed and holds the cup between two rotating rollers or a chuck. As the job runs, the cup turns so that every point of the engraving passes directly under the focused beam at a constant distance. Without it, the beam would be sharp at the front of the curve and hopelessly out of focus at the sides, producing a faded, distorted mark.
There are two common styles. Roller rotaries cradle the tumbler on spinning wheels and suit most straight-sided bottles and mugs. Chuck rotaries grip the item by its base or mouth and are better for odd shapes like conical wine glasses or narrow stems. For a home business, a roller type covers the vast majority of orders.
Setup is mostly about alignment. The cup must sit level, centered under the beam, and free to spin without wobble. A tape-wrapped seam or a tiny dot of contrast helps you confirm the start point before committing to a real etch.
Best Materials and Coatings for Tumblers
Powder-coated stainless tumblers, such as the popular 20-30 oz travel cups, engrave beautifully because the laser burns through the colored coating to reveal the bright steel beneath. The result is permanent, dishwasher-safe, and crisp. Bare stainless also marks but with lower contrast, so a light etch plus a darkening compound is sometimes used.
Anodized aluminum bottles take a clean mark too, and clear-coated mugs can be etched where the coating is removed. Avoid engraving directly on plastic bottles or anything with a hidden liner you cannot verify, since unknown plastics may off-gas. Glass drinkware engraves into a frosted look but is fragile under power, so keep settings gentle.
A short prep checklist keeps results consistent:
- Wash and fully dry the tumbler; oils from handling dull the mark.
- Mask the area if you want to protect the surrounding coating from soot.
- Measure the cup diameter to set the rotary's circumference correctly.
- Run a focus check at the actual cup height, not the flat bed height.
Dialing In Settings and Speed
Tumbler engraving is almost always a surface etch, not a cut, so you work at low to moderate power and moderate speed. A good starting point for a powder-coated 30 oz tumbler is around 25-40% power at 200-350 mm/s, with 300-500 DPI resolution. Higher DPI sharpens fine text but slows the job and can over-burn thin coatings.
The rotary circumference setting is the part beginners forget. Your software needs the cup's diameter (or circumference) so it can translate a flat design into the correct spin distance. Get this wrong and the artwork stretches or repeats off-target. Measure with calipers, enter the value carefully, and verify with a quick test strip on the back of the cup.
Air assist helps here too. A light stream keeps coating residue from redepositing on the lens and prevents the mark from smearing. Keep the beam focused, the cup secure, and the first test on a scrap or the hidden side of a reject cup.
Workflow: From Design to Finished Cup
Start your design in your usual vector software, keeping text tall and simple because tiny fonts lose legibility once etched. Mirror is not required for rotary engraving the way it is for some sublimation work, but confirm your software's orientation with a test. Export the file and assign it to the rotary layer in your laser controller.
Load the tumbler onto the rollers, lower the bed or raise the head to focus on the cup surface, and jog the head to the exact start position. Run a low-power outline or "frame" first to confirm placement, then execute the full job while watching the first few seconds for focus drift or slipping.
After the etch, wipe the cup with a damp cloth and a little rubbing alcohol to remove residue, then inspect under good light. Most powder-coated marks need no finishing at all, which is part of why drinkware is so profitable. Package upright in a slim box and you have a gift-ready product.
Troubleshooting Common Rotary Mistakes
The most frequent problem is a distorted or stretched image, which almost always traces back to an incorrect circumference value or a cup that slipped during the spin. Re-measure the diameter, tighten the rollers, and re-run the test strip. A second cause is the cup not centered, which makes one side sharper than the other.
Faded or incomplete marks usually mean the focus was set to the flat bed height instead of the cup's surface, leaving the beam too far from the coating. Refocus at the true cup height and confirm the lens is clean. If the mark looks burnt or the coating bubbles, drop power or raise speed and retest.
Finally, watch for cup wobble on tapered shapes. A straight roller rotary struggles with cones, so switch to a chuck style or accept a slightly shorter engraving area. Patience on setup pays off: a well-aligned rotary job looks factory-made, while a rushed one screams homemade.
Sourcing Tumblers and Bottles in Bulk
Once drinkware becomes a steady seller, buying blanks one at a time from retail stores kills your margin. Look for restaurant-supply wholesalers, bulk drinkware importers, and maker-focused suppliers that sell powder-coated tumblers by the case. A case of twenty-four 30 oz cups often costs little more than buying a few individually, which directly improves your profit per order.
Quality matters more than price at this stage. Request a sample before a large order, because coating thickness and straightness vary between brands and affect how cleanly the laser bites. Inconsistent diameters also force you to re-measure the rotary setting for every batch, slowing production. A reliable, uniform blank is worth a small premium.
Storage and organization round out the workflow. Keep cups in their original boxes to avoid scratches, label shelves by size and color, and track how fast each style sells so you reorder before running out. Pairing a trusted bulk source with your tested settings turns rotary engraving from a fun experiment into a dependable income stream with predictable costs.
FAQ
Do I need a special laser to engrave tumblers? No, you need a standard CO2 laser plus a rotary attachment. Most desktop CO2 machines accept a roller or chuck rotary that plugs into the controller and is enabled in the software.
Why is my engraving stretched on the cup? Stretching means the rotary circumference or diameter setting is wrong, or the cup slipped while spinning. Re-measure the diameter accurately and secure the cup so it cannot rotate independently of the rollers.
Can I engrave glass bottles and wine glasses? Yes, but use low power and moderate speed to avoid cracking, and consider a chuck rotary for tapered or stemmed shapes. Glass etches to a frosted mark that reads best on clear or lightly tinted surfaces.
Make Drinkware Your Signature Product
Rotary laser engraving opens a product line that ships easily, gifts beautifully, and sells in every season. Spend an afternoon learning your circumference setting and focus height, and you will be turning out professional tumblers and bottles that customers cannot buy at a big-box store. If you later outgrow a desktop bed, HF Laser (https://www.hflaser.com/laser-cutter.html) builds larger flatbed and auto-feeding CO2 machines for scaling production.

- National hotline: +86-531-86516855/56/57
- Enterprise mailbox:sales@redsaillaser.com
- Address: Room 402E, Tower D, Yinhe Building, 2008 Xinluo Avenue, Shunhua Road Subdistrict, Jinan Area, China (Shandong) Pilot Free Trade Zone


Redsail Tech Co. © 2002-2026. All Rights Reserved.