
Why Glass Is a Special Case for Lasers
Glass behaves nothing like wood or acrylic under a CO2 beam. It does not cut, and it barely absorbs the infrared light, so the surface instead fractures into tiny craters that read as a frosted mark. That makes glass engraving both rewarding and finicky: done well it looks elegant and permanent, done poorly it chips, cracks, or shows almost nothing.
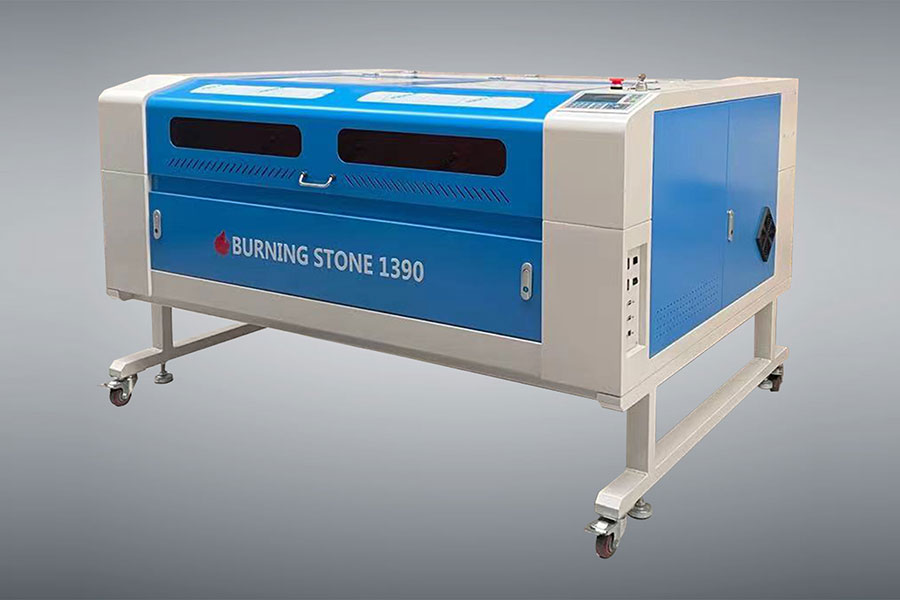
The good news is that a few simple techniques remove most of the frustration. The most famous is the wet-towel trick, which we cover below, but focus, power control, and surface prep matter just as much. If you are shopping for a machine to try this, the desktop and flatbed units at https://www.redsaillaser.com/Laser-Cutter.html all handle glass engraving with the right settings.
The Wet-Towel Trick Explained
The wet-towel method is the single most useful glass-engraving hack for beginners. You lay a damp paper towel flat against the area you plan to engrave, so the surface stays wet during the job. The water cools the glass microseconds after the beam passes, which reduces micro-fracturing, prevents chipping, and dramatically improves mark contrast.
Without moisture, the beam's heat stresses the glass and the engrave can look faint or rough. With it, the same settings produce a cleaner, brighter frost. After the job, you simply peel off the towel and wipe the residue; no polishing required. It is cheap, fast, and works on wine glasses, mirrors, and flat glass panes alike.
Use a lint-free paper towel and distilled water if your tap water is hard, since minerals can leave spots. Keep the towel damp but not dripping, and make sure it stays in place; a little masking tape at the edges stops it sliding under the beam.
Settings and Resolution That Work
Glass engraving is a surface etch, so you want moderate power and enough speed to avoid heat buildup. A reliable starting point is around 25-40% power at 200-400 mm/s, engraving at 300-500 DPI. Higher DPI adds detail but also heat, so resist maxing it out on thin glass.
Multiple light passes often beat one heavy pass. Two or three gentle runs at lower power give a deeper, more even frost than a single aggressive pass that risks cracking. Always focus precisely on the glass surface, because even a millimeter off focus blurs the mark badly on a transparent material.
Air assist should be light or off for glass, since a strong stream can blow the wet towel around or cool the spot too unevenly. If your machine forces assist, keep it minimal and watch the first seconds to confirm the towel stays put.
Surface Prep and Design Choices
Clean the glass with alcohol first to remove oils and fingerprints that scatter the beam. A perfectly clean, dry-then-wetted surface engraves more predictably than a smudged one. Avoid engraving over labels or ridges; flat, smooth areas give the crispest results.
Design-wise, simpler is better. Bold text, line art, and logos read clearly, while ultra-fine hairlines and tiny fonts tend to disappear into the frost. Mirror or flip text only if you are engraving on the underside of a pane you will view from the other side; for normal drinkware, standard orientation is fine.
Consider the glass color, too. Clear glass shows a white frost, while blue or green tinted glass needs slightly more power for the same contrast. Black glass or mirrors respond differently and may need a test strip before a real piece.
Fixing Common Glass Problems
Chipping at the edges of a mark usually means too much power or too slow a speed, letting heat accumulate. Drop power 5-10% or raise speed and try the wet-towel method if you were not already using it. Cracks are a warning to back off further and use lighter, multi-pass engraving.
Weak or invisible marks often come from a dirty lens, wrong focus, or glass that reflects too much. Clean the optics, refocus on the surface, and confirm the towel is wet. If contrast is still low, a second light pass deepens the frost without adding much heat.
Uneven patches trace back to an unflat towel, an unlevel item, or inconsistent speed. Press the towel smooth, level the glass on a stable jig, and keep the job speed constant. A quick test on a reject glass saves your good pieces.
Projects to Try on Glass
Once the technique clicks, glass opens a profitable gift niche. Wine glasses and beer mugs engraved with names or dates are wedding and reunion staples. Mirrors with a frosted monogram make elegant bathroom or entryway decor, and flat glass panels become custom signs or framed art.
Pint glasses, perfume bottles, and glass jars also take marks well and ship safely with padding. Because the engrave is permanent and dishwasher safe, glass gifts get used and seen daily, which is exactly what drives repeat orders and referrals for a home laser business.
Start with one case of inexpensive glassware, run your test strip, and build a small template library of occasion designs. Within a weekend you can have a photo-ready glass gift line that complements your wood and acrylic products.
Safety and Cleanup When Engraving Glass
Glass engraving is safe when you respect a few basics. Always wear eye protection rated for your laser wavelength, because reflected beams from curved or mirrored surfaces can glance back toward the operator. Keep the work area clear of flammable items, and never leave the machine running unattended, since a shifted towel or a cracked piece could lead to a small fire or a spoiled job.
Ventilation still matters even though glass itself is inert. The beam vaporizes any residue, coatings, or adhesives on the surface, and that fine dust should not settle in your lungs or on your optics. Run your usual exhaust system and wipe the inside of the machine afterward if you see a film building on the lens or mirrors.
Cleanup is quick but worth doing right. Peel away the wet towel, rinse the glass under warm water to remove fine glass dust, and dry with a lint-free cloth to avoid spots. Dispose of the used towel and any slurry in the trash rather than washing large amounts down a delicate drain, since accumulated glass powder can be abrasive. A clean machine and a clean bench keep your next glass job as crisp as the last one.
Choosing the Right Glass for Engraving
Not all glass engraves equally, so choosing blanks wisely saves frustration. Thicker, flat-bottomed drinkware and pane glass handle the beam better than very thin or heavily curved items, which can crack under heat. Soda-lime glass, the common type in most drinkware, responds well to the wet-towel method and shows a bright frost that reads clearly even from across a room.
Avoid tempered glass for engraving, because the surface stress can cause it to shatter unpredictably when fractured by the laser. Recycled or heavily textured glass also gives uneven marks, so save those for decorative, non-critical pieces where a rough result is acceptable. When in doubt, buy a few test pieces from a thrift store before committing to a bulk order, and keep notes on which brands engrave cleanly for future restocking.
Matching the glass to the project also improves presentation. Clear tumblers showcase simple monograms, while tinted glass suits bolder art, and mirrors make elegant wall or vanity pieces. A small shelf of tested, trusted blanks keeps your glass gift line consistent and lets you say yes to custom requests without fearing a cracked disappointment.
FAQ
Does the wet-towel trick really work? Yes. A damp towel cools the glass right after the beam passes, reducing chipping and boosting contrast. It is the easiest way for beginners to get clean, bright frosted marks on glass.
Can a CO2 laser cut glass? No, a standard CO2 laser cannot cut glass; it only etches the surface by fracturing it. For cut glass shapes you need a different process such as waterjet or specialized equipment.
Why is my glass engraving so faint? Faint marks usually mean wrong focus, a dirty lens, or too little power. Refocus on the surface, clean the optics, wet the towel, and add a second light pass for more contrast.
Start Engraving Glass with Confidence
Glass engraving looks intimidating until you try the wet-towel method, after which it becomes one of the most satisfying things your laser can do. Pair clean prep, careful focus, and light multi-pass settings, and you will turn plain glassware into premium personalized gifts. If you later outgrow a desktop bed, HF Laser (https://www.hflaser.com/laser-cutter.html) builds larger flatbed and auto-feeding CO2 machines for scaling production.

- National hotline: +86-531-86516855/56/57
- Enterprise mailbox:sales@redsaillaser.com
- Address: Room 402E, Tower D, Yinhe Building, 2008 Xinluo Avenue, Shunhua Road Subdistrict, Jinan Area, China (Shandong) Pilot Free Trade Zone


Redsail Tech Co. © 2002-2026. All Rights Reserved.