
Acrylic is the gateway material for makers who want to sell, because it is cheap, colorful, and endlessly customizable into keychains and charms. In this guide you will learn how to lay out a sheet for near-zero waste, the cut settings that leave glassy edges, and the small finishing touches that make a $1 blank feel like a boutique gift. By the end you will see why so many laser side hustles start with a tray of acrylic shapes.
For home crafters and gift sellers, acrylic charms hit a sweet spot: they photograph well, ship flat, and please almost everyone from teachers to pet owners. Because the design lives in a file, you can personalize a name or date in seconds and still cut fifty at once. That combination of speed and sentiment is exactly what turns a hobby into a steady trickle of orders.
Picking the Right Acrylic
Cast acrylic is the maker favorite for laser cut acrylic because it cuts with a clean, flame-polished edge and engraves with a frosted, high-contrast look. Extruded acrylic is cheaper and cuts fine, but it tends to melt and can leave a gummier edge, so save it for practice runs. Stick with cast for anything customer-facing, and you will spend far less time cleaning up burrs.
Color choice changes more than looks. Transparent and frosted acrylic show off layered designs and look great with UV-printed or vinyl details, while opaque colors read boldly from across a market table. Mirror acrylic adds drama but scratches easily, so handle it with a paper mask and cut with the mask side up to protect the shine. Keep a small library of swatches so you can match a customer's theme without guessing.
Thickness drives both cut settings and charm durability. Around 2.5–3 mm is the sweet spot for keychains: thick enough to feel sturdy on a bag, thin enough for a desktop laser to cut in one or two passes. Anything under 2 mm feels flimsy, and over 4 mm starts to need real power and slows batch work. Buy a few sheets in your top five colors and you cover most orders.
Layout and Cut Settings
Nest your shapes to squeeze the most charms from each sheet. In your design software, place circles, hearts, and rounded tags edge to edge with a few millimeters of gap for the kerf, and you will be shocked how many fit on one 300 x 200 mm offcut. Leaving a thin bridge or tab on a few pieces can also hold small charms in place during the cut so they do not drift or tip into the beam.
For cutting cast acrylic on a typical 40–60W desktop laser, a strong starting point is roughly 8–15 mm/s at 60–80% power for 3 mm thickness, with the focus set exactly on the material surface. Slower and lower works if the cut does not release; faster and higher risks melting. Always do a corner test on scrap first, because brand and color shift the numbers more than you would expect. Engraving a name or icon on the same sheet is usually done at higher speed and lower power, often 200–400 mm/s at 15–30%.
A clean edge depends on air assist and a fresh lens. The assist blows molten acrylic away from the cut so it does not re-deposit as a cloudy haze on the edge, and a dirty lens scatters the beam into a rough, frosted seam. Wipe the lens before a big batch and keep assist air flowing, and your edges will come out clear and glassy instead of milky.
Finishing and Assembling Charms
The mask comes off last, and the reveal is half the fun. Peel slowly from a corner, and if any residue remains, a dab of rubbing alcohol on a soft cloth lifts it without scratching. For a glossy pop, a quick pass with a plastic polish or a dedicated acrylic cleaner removes fingerprint haze and makes colors sing in photos, which matters when most of your sales happen through a screen.
Turning a cut shape into a finished charm is simple hardware work:
- Punch or laser a 3–4 mm hole near the top edge for the ring.
- Add a split ring or a lobster clasp through the hole.
- For DIY charms with layered looks, bond a smaller acrylic or wood piece with a tiny dot of super glue.
- Optional: apply a vinyl name, a resin dome, or a tassel for a premium feel.
- Bag each piece in a small poly pouch so it arrives scratch-free.
Personalized gifts sell best when the personalization is obvious, so offer name, initial, or date engraving as a standard option rather than an upsell. Keep a handful of blank best-sellers cut and ready so a custom order is just an engraving away, which shrinks turnaround from days to an afternoon.
Design Ideas That Actually Sell
The most reliable sellers are the ones people buy on impulse because they feel personal. Pet silhouettes, name tags in a favorite color, and milestone charms for babies and weddings cover a huge share of gift demand, and all of them are just a file away once you build a small template library. Keep a few blank best-sellers cut and finished so a custom order is only an engraving or a name swap away, which shrinks your turnaround from days to an afternoon and keeps customers happy.
Layered and mixed-material charms stand out at a crowded market table. Glue a small wood or mirrored acrylic accent onto a cast acrylic base, or stack a translucent shape over an opaque one so light passes through in a way plain plastic cannot. A tiny tassel, a resin dome over the engraving, or a lobster clasp instead of a plain ring all read as premium without much cost. These small upgrades are where margin lives, because the material stays cheap while the perceived value climbs.
Do not overlook utility charms, which sell steadily even outside gift seasons. Luggage tags, zipper pulls for jackets, and bookmark charms are practical, ship flat, and please buyers who say they already have enough decor. Offering a matching set, such as a parent and child name pair, also lifts the average order, because people happily pay a little more for a story. The variety you can produce from one sheet of acrylic is the whole point of starting here.
Avoiding Waste and Burn Marks
A few habits keep your acrylic looking professional instead of homemade. Always cut with the protective paper mask on, because the mask prevents the beam from scorching the shiny face and catches the fine smoke that would otherwise haze the surface. Peel it only after the piece is fully finished, and if any sticky residue remains, a dab of isopropyl alcohol on a soft cloth lifts it without scratching the color underneath.
Watch your total cut time per sheet, because long, hot batches can warp thin acrylic and throw off focus mid-job. If you are nesting a large run, break it into two shorter jobs with a cool-down between them, or use a honeycomb bed with good airflow so heat escapes instead of building up. Warped material cuts unevenly and can tip into the beam, so a flat, cool sheet is worth the patience. A simple staple of successful laser crafts is respecting the material's heat limits.
Finally, keep a scrap bin for offcuts and design small charms around them. A 30 mm heart or a initial tag fits easily on a leftover corner that would otherwise be trash, and those offcuts are perfect for testing new settings or for freebie tokens that delight customers. Treating scrap as inventory rather than waste is a mindset that quietly improves both your margin and your sustainability story.
Frequently Asked Questions
Q: Why do my acrylic edges come out cloudy instead of clear?
A: Cloudy edges usually mean not enough air assist, a dirty lens, or cutting too fast for the power. Turn up assist, clean the lens, and slow the cut slightly so the edge polishes as it goes. Cast acrylic also clouds less than extruded, so switch material if the problem persists.
Q: Can I engrave a photo onto acrylic like I would on wood?
A: Yes, but it reads as a frosted mark rather than a dark burn, so high-contrast images work best. Use a lower power and higher speed than wood, and test on the exact color, because white and clear acrylic show engraving very differently from black.
Closing Thoughts
Acrylic keychains and charms are the rare project that is beginner-friendly, cheap to practice, and genuinely profitable once your settings are locked in. With smart nesting and a small finishing kit, a single sheet becomes a pile of gifts people are happy to pay for. To start cutting your own, check the desktop laser options at Red Sail Laser and pick a bed that fits your favorite blank sizes.
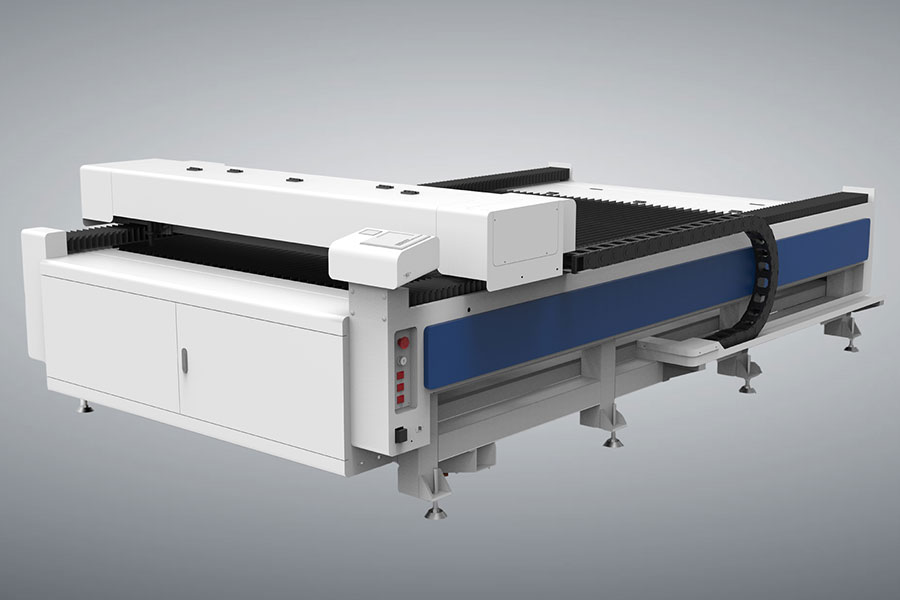
For production-scale cutting and signage, also see our industrial CO2 laser cutters.

- National hotline: +86-531-86516855/56/57
- Enterprise mailbox:sales@redsaillaser.com
- Address: Room 402E, Tower D, Yinhe Building, 2008 Xinluo Avenue, Shunhua Road Subdistrict, Jinan Area, China (Shandong) Pilot Free Trade Zone


Redsail Tech Co. © 2002-2026. All Rights Reserved.