
Introduction
Laser cut invitations have moved from high-end stationery houses into home craft rooms. A CO2 laser turns a flat sheet of paper or cardstock into lace-like floral frames, monogrammed belly bands and layered shadow box cards that a craft knife simply cannot repeat by hand. For small shops and DIY makers, that means a single design file can become fifty identical wedding suites or two hundred holiday cards without losing the crisp detail that sells.
This guide walks through the practical side of cutting paper and cardstock on a CO2 laser: the materials that behave best, the settings ranges worth starting from, design habits that prevent torn bridges, and a simple weeding and assembly routine. You will also find tips for keeping edges clean and avoiding the scorch marks that frustrate first projects.
Why a Laser Beats a Craft Knife or Die Cutter
A craft knife gives you control but no repeatability. Cutting twenty identical lace borders by hand takes hours and the last one never matches the first. A die cutter is fast for simple shapes but each new design means a new metal die, and intricate filigree dies are expensive and limited in size.
A CO2 laser reads the same vector file every time. Once your cut lines are tuned, the fiftieth invite is identical to the first, and a design change is a software edit rather than a new tool purchase. That is why gift sellers and sign makers increasingly treat a desktop laser as a small production machine rather than a hobby toy.
The trade-off is heat. Paper burns, so success comes from balancing speed and power so the beam severs fibres without charring the surrounding area. The sections below show how to find that balance.
Choosing the Right Paper and Cardstock
Weight matters more than brand. Most makers have good luck in the 65 lb to 110 lb cover stock range (about 175 to 300 gsm). Lighter printer paper cuts easily but curls and scorches; heavier board above 300 gsm may need multiple low-power passes and a firmer honeycomb bed support.
Coated and glossy stocks cut cleanly but can off-gas more, so run the exhaust fan and keep a window open. Uncoated cotton and kraft papers engrave beautifully for a soft, letterpress look but tend to brown at the edges if power runs high.
Pulp colour is worth a test. Recycled and speckled stocks have inclusions that can catch the beam unevenly, so run a small swatch before committing a full sheet.
Recommended Starting Settings
Treat these as starting points on a 40 W to 60 W desktop tube, then fine-tune on scraps:
- Cardstock 80 lb (216 gsm): speed around 60 to 90 mm/s, power near 12 to 18 percent.
- Cardstock 100 lb (270 gsm): speed around 40 to 60 mm/s, power near 15 to 22 percent.
- Thin cover paper 65 lb: speed around 90 to 120 mm/s, power near 8 to 12 percent.
Run a cut test grid that varies speed in 10 mm/s steps. You want a clean separation where you can lift the shape without tearing the surrounding sheet. If edges are brown, raise speed or drop power by a few percent. If pieces stay attached, lower speed or raise power slightly.
Always focus the lens to the paper surface, not the bed, and mask the top with a low-tack paper transfer tape to reduce scorch and hold small cut pieces in place during the job.
Designing for Clean Cuts and Intricate Lace
Keep bridges and connection points at least 0.8 mm wide. Lace patterns with hairline connectors snap during weeding, so design forts that hold the artwork together until you are ready to separate it.
Use a single hairline stroke (0.001 in or 0.025 mm) on a dedicated cut layer set to cut rather than engrave. Many programs export thin red lines as the cut path; confirm your controller reads that colour as a vector cut and not a scan.
Nest pieces tightly to save sheet space, but leave a 5 mm margin from the edge where the bed may be uneven. For layered cards, cut the backing frame first, then align and cut the top lace on a fresh sheet so registration stays perfect.
If you want both cut and engraved detail in one pass, place the engrave layer below the cut layer in the order so the artwork is marked before the sheet is separated. A CO2 laser engraver handles both tasks from the same file.
Weeding, Layering and Assembly
Weeding paper is gentler than vinyl. Use a fine tweezers to lift the negative space, not the artwork, and work from a corner inward. If small islands drift, the masking tape you applied earlier will hold them until you peel the whole sheet at once.
For layered invitations, stack from back to front: a solid backing card, a foam adhesive spacer for dimension, then the lace top. A 1 mm to 2 mm foam dot behind each corner lifts the delicate cut so it reads as shadow box depth.
Belly bands are the easiest sell. Cut a 25 mm to 40 mm strip with a slot, wrap it around a folded card, and the laser-cut pattern does the decorating. Batch fifty in one sheet and you have a product line ready for markets.
Avoiding Scorch and Keeping Edges Crisp
Scorch comes from dwell time, not just power. Faster speeds with slightly higher power usually brown less than slow, low-power cuts because the beam moves on quickly. A honeycomb or pin bed lets air pass under the sheet so heat does not build on the table surface.
Mask both sides for pale stocks, and peel the mask after cutting while the sheet is still flat. A barely damp cloth can lift light browning on uncoated paper, but test on a scrap first because rubbing can rough the fibres.
Store finished invites flat under a board. Cardstock remembers curl, and a warm laser bed can leave a slight wave that a night under weight will remove.
Planning Batches and Saving Sheets
Before you cut a hundred invites, plan the sheet. Most desktop beds fit an A4 or A3 sheet, so lay out a grid of identical cards with a 10 mm gap so the laser has room to clear between them. A tidy nest can fit twelve to twenty invites per sheet depending on size, which halves your runtime and material cost.
Keep a cut log of the settings that worked for each stock. Paper behaves differently by humidity and brand, so a notebook of speed, power, and the exact card name saves you from re-testing every order. When a bride reorders the same suite months later, you want to match the first batch exactly.
Storing Stock and Finished Work
Store cardstock flat in a low-humidity spot. Damp paper scorches more easily and curls under the beam, so let new packs acclimatise a day in the workshop before cutting, and keep finished invites under a board so they stay flat for shipping.
Ship in a rigid mailer rather than a padded envelope. Cardstock bends in soft packaging, and a creased invite reads as damaged even when the cut is perfect, which hurts reviews on a handmade listing.
Frequently Asked Questions
Can I cut glossy photo paper on a CO2 laser?
Yes, but run the exhaust and test a corner first. Coated surfaces can flare, so keep power modest and speed higher than matte stock. A light mask layer protects the finish from scorch.
Why do my intricate cuts tear when I weed them?
Usually the connectors are too thin or the power is too high. Widen bridges to at least 0.8 mm, lower power a few percent, and make sure the sheet is flat and well masked so pieces stay put until you lift them.
Do I need a special laser for paper?
No. Any desktop CO2 laser that cuts wood or acrylic will cut paper; you simply use much lower power. A desktop laser engraver is plenty for invitation batches at home.
Ready to turn one design into a full suite? Start with a single test sheet, tune the cut, then scale to a batch. The same machine that makes your invitations can also cut tags, boxes and signage as your craft line grows.
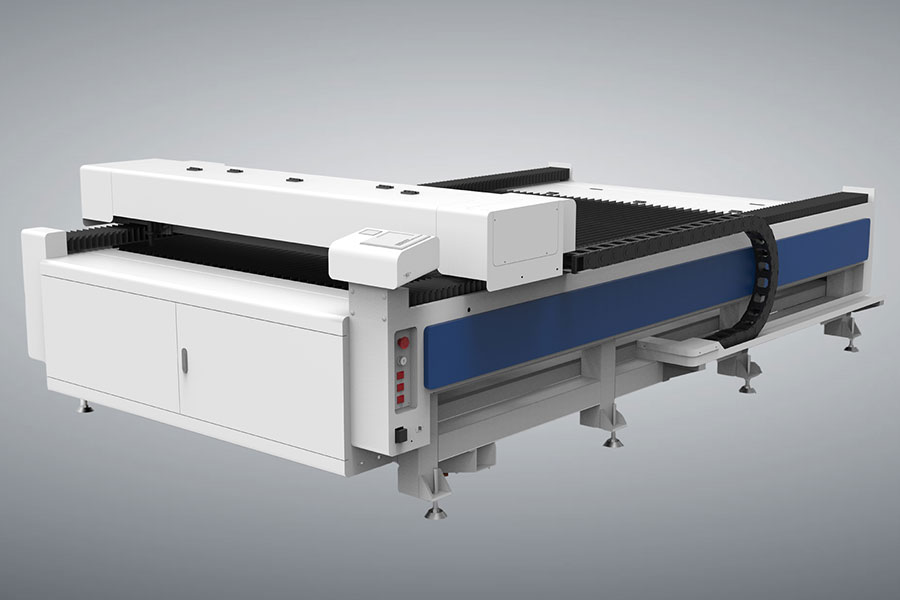
As your order volume grows, HF Laser supplies industrial CO2 laser cutters and auto-feeding machines built for production shops.

- National hotline: +86-531-86516855/56/57
- Enterprise mailbox:sales@redsaillaser.com
- Address: Room 402E, Tower D, Yinhe Building, 2008 Xinluo Avenue, Shunhua Road Subdistrict, Jinan Area, China (Shandong) Pilot Free Trade Zone


Redsail Tech Co. © 2002-2026. All Rights Reserved.