
Introduction
A wood laser project is the friendliest place to start with a CO2 machine. Wood is forgiving, cheap, and widely available in craft sizes, so mistakes cost little and every success is something you can gift, keep, or sell. For new makers, the fastest way to learn the machine is to make real objects rather than random test squares.
This list gives twelve approachable wood projects that build different skills, from focusing and engraving to cutting, stacking, and finishing. Each one is small enough for a desktop laser yet useful or giftable enough to justify the time. Work through them in order and you will master the basics without buying new gear.
Why Wood Is the Best First Material
Wood engraves at low power and cuts cleanly, so you see results fast and learn how focus, speed, and power interact. A single sheet of 3 mm to 6 mm plywood teaches more than an afternoon of theory.
Blanks are cheap and sold in packs at craft stores, so you can practice freely. Offcuts from bigger cuts become tags, coasters, and test tiles, which keeps waste near zero.
Best of all, wood looks finished even with simple marks. A name on a slice of pine reads as a real product, which is encouraging when you are still learning the software.
12 Beginner-Friendly Wood Projects
- Personalized keychains — Cut 25 mm to 50 mm tags from 3 mm ply and engrave a name or date; great for learning cut plus engrave in one file.
- Wall name signs — Engrave a child's name on a 150 mm by 400 mm board; teaches layout, scaling text, and clean focusing on a large flat panel.
- Coasters from cork-backed wood — Cut 90 mm squares and etch a monogram; introduces sealing so the engrave survives a wet glass.
- Ornament sets — Cut seasonal shapes from 3 mm ply and engrave year or names; batch fifty on one sheet to practice nesting.
- Recipe and spice jar tags — Small rectangular tags with a hole, engraved labels; a fast seller at markets and easy to repeat for orders.
- Phone and laptop stands — Cut a simple fold-flat stand from 6 mm ply; your first real functional object with slots and kerf awareness.
- Wooden business cards — Engrave contact details on 0.5 mm to 1 mm veneer; teaches fine text settings and handling thin material.
- Keepsake boxes — Cut a lidded box with finger joints; builds confidence with precise cuts and learning the kerf compensation.
- Plant markers — 40 mm stakes engraved with herb names; a quick garden gift that practices outdoor finish choices.
- Photo plaques — Engrave a dithered portrait on birch; introduces grayscale, DPI, and the patience of a slow scan.
- Puzzle tiles — Cut a 3 mm ply plaque into interlocking pieces; teaches bridge settings so cuts separate cleanly.
- Layered wall art — Stack two or three cut outlines with foam spacers; your first project that combines cutting, alignment, and finishing.
Skills Each Project Builds
The early items teach the core loop: import art, set cut and engrave layers, focus, run a test, adjust. Keychains and tags are where most people first learn that power too high scorches and speed too low burns.
Mid-list projects add real-world concerns. The phone stand and keepsake box introduce kerf, the width the beam removes, which decides whether slots fit. Measure a test joint and tweak the offset by 0.1 mm until it presses together snug.
Later projects build finishing sense. Photo plaques need the right DPI and a clean scan direction, while layered art needs registration and a flat stack. By project twelve you are no longer a beginner.
Turning Projects Into Sales
Pick three favourites and make a small batch of each with consistent sizing. Buyers trust a maker who shows a range, and batches are where the laser saves you time over hand tools.
Photograph on a plain background with the item in use, like a coaster under a mug or a sign on a wall. Good pictures do more for sales than fancy packaging at the start.
Offer light personalization, a name or date, as a paid add-on. That is the exact service a wood laser engraver makes trivial, and it lifts a five-dollar tag toward a fifteen-dollar gift.
Keeping Costs Down While Learning
Buy one sheet of good Baltic birch ply and cut it into many blanks rather than ordering pre-made pieces. You control size, learn cutting, and spend less per item.
Save every offcut in a tray. Small tags, test tiles, and ornament scraps come from ends that would otherwise be thrown away, so your material cost stays near zero while practicing.
When orders grow, a desktop laser engraver still handles most of this list; you simply run more sheets per day.
A Note on Project Order
Work through these in any order, but each builds on the last, so the skills stack as you go. Keep the files in a project folder because several, like keychains and tags, become repeat sellers you will cut again.
Safety and Setup Basics
Before any project, learn the machine housekeeping. Keep the lens and mirrors clean, focus to the material, and never leave a cut running unwatched. Wood smoke is flammable, so a small fire puck or water nearby is sensible for a home shop.
Good airflow matters more than makers expect. A CO2 laser on wood makes fine smoke that coats the lens and dims the beam over time, so vent outdoors and wipe the lens weekly. Clean gear cuts straighter and needs fewer retries.
Finishing Wood the Simple Way
Most projects look finished with a light sand and a coat of oil or clear spray. Birch engraves a warm brown that deepens nicely with linseed or a wipe-on poly, while pine stays pale and reads as rustic.
For a pop of colour, fill the engraved line with acrylic paint, let it dry, then sand the surface back. The recess holds the colour and the top stays clean, which makes even a simple keychain look intentional.
Common First-Timer Mistakes
The usual error is too much power, which scorches the wood and leaves a burnt rim. Start low and step up; a faint mark beats a blackened one, and you can always run a second pass.
The second mistake is ignoring kerf, so slots fit loosely or not at all. Cut one test joint from the same sheet, measure the gap, and nudge the offset before cutting the real piece. This habit saves more material than any other.
Where to Find Blank Wood
Craft stores sell packs of ply, MDF, and solid slices, but the cheapest supply is a hardware store birch ply cut into blanks by the laser itself. Buy one large sheet, cut it into coaster and tag sizes, and you control both cost and size.
Offcuts become test tiles and small gifts, so nothing is wasted. A CO2 laser cutter turns a single sheet into a week of stock for almost nothing.
Showing Your Range
List the three best sellers in your shop bio so new visitors see proof fast. A maker with a clear range looks established even on day one, and personalization is the hook that turns a browser into a buyer.
Frequently Asked Questions
What wood should a beginner avoid?
Skip treated, painted, or unknown reclaimed wood because coatings and preservatives can release fumes. Plain Baltic birch ply and solid pine are safe, clean, and easy to mark.
How do I stop wood from scorching?
Use the lowest power that gives a clear mark, raise speed, and mask the surface with paper tape you peel after. A clean lens and correct focus also prevent hot spots.
Can I sell items made from these projects?
Yes. Handmade wood decor and gifts sell well at markets and online. Keep designs original or licensed, and lead with personalization to stand out from mass-produced stock.
Start with keychains and tags this week, then move through the list as your confidence grows. Within a month you will have a shelf of real products and the skills to take custom orders.
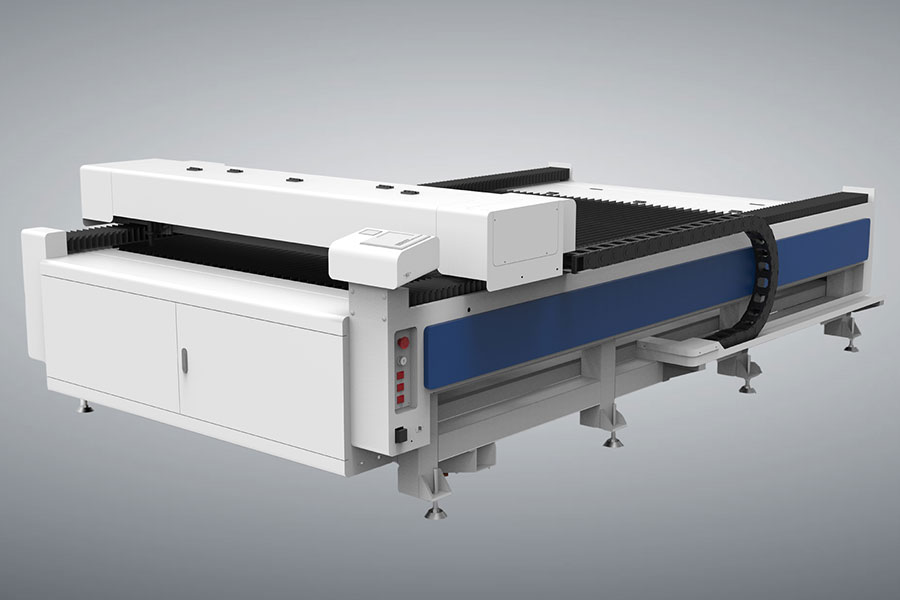
As your order volume grows, HF Laser supplies industrial CO2 laser cutters and auto-feeding machines built for production shops.

- National hotline: +86-531-86516855/56/57
- Enterprise mailbox:sales@redsaillaser.com
- Address: Room 402E, Tower D, Yinhe Building, 2008 Xinluo Avenue, Shunhua Road Subdistrict, Jinan Area, China (Shandong) Pilot Free Trade Zone


Redsail Tech Co. © 2002-2026. All Rights Reserved.