
Why Cutting Boards Are the Perfect First Paid Project
A personalized cutting board is one of the few laser projects that sells itself. It is useful, it sits on a kitchen counter where guests see it, and it carries a name, a date, or a family recipe that no mass-produced item can copy. For a home workshop, that combination means low material cost, quick run time, and a product people happily pay a premium for as a wedding, housewarming, or holiday gift.
It is also a forgiving project. Wood hides small mistakes, the artwork is mostly text and simple line art, and a board is thick enough that warping is rarely an issue. Once you understand which species engraves dark and how to keep lines crisp, you can produce a sellable board in well under fifteen minutes of machine time.
Choosing the Right Board Wood Before You Buy
Start with species, because species decides how dark your engraving will look and how much cleanup you have to do. Hard maple is the classic choice: it is pale, tight-grained, and engraves to an even medium brown that reads beautifully against the light surface. Walnut is darker and naturally rich, so engraving on it produces lower contrast — it works best for filled designs or for a lighter "burnished" look rather than deep dark text.
Cherry is a middle ground with warm tone and good contrast, though it darkens over time with UV exposure, so engraved and unengraved areas drift apart slightly as the board ages. Bamboo is cheap and widely available, but it is a grass with strong directional fibers and a lot of glue, so it tends to engrave blotchy and can smell sharp when cut. Acacia and olive wood have dramatic grain figure that looks stunning but engraves unevenly because the density changes across the surface.
Buy from a kitchen-supply or woodworking source rather than a discount home store whenever you can. Boards sold for food use are less likely to have hidden voids, filler, or a thick factory lacquer that smokes under the beam. Look for edge-grain construction for everyday boards — end-grain boards are gorgeous and knife-friendly, but their fiber orientation makes laser marks noticeably lighter and more variable.
- Maple — best contrast, predictable, ideal for names and monograms
- Cherry — warm, good contrast, darkens slightly with age
- Walnut — low contrast, better with fill or a light touch
- Bamboo — cheap, but blotchy and glue-heavy
- Acacia / olive — beautiful grain, uneven engraving depth
- Avoid — boards with a thick glossy factory finish or unknown wood filler
Power and Speed Starting Ranges That Actually Work
Settings always depend on your tube wattage, lens condition, and focus, so treat the numbers below as a starting grid rather than a rule. The reliable method is to build a small test grid on an offcut of the exact board you plan to sell: rows of speed, columns of power, and you pick the darkest cell that has not started to char or lose edge detail.
On a typical home-shop machine in the 40–60 W class, maple usually engraves well around 25–35% power at 200–300 mm/s. Cherry likes slightly less power or slightly more speed because it burns faster. Walnut needs more power to get visible contrast, but push too far and you get a muddy, scorched patch. Bamboo needs lower power and higher speed because of the resin and glue content.
| Material | Power start | Speed start | Notes |
|---|---|---|---|
| Hard maple | 25–35% | 200–300 mm/s | Even, dark, reliable |
| Cherry | 20–30% | 250–350 mm/s | Burns quickly, watch edges |
| Walnut | 30–45% | 200–250 mm/s | Low contrast, increase slowly |
| Bamboo | 15–25% | 300–400 mm/s | Glue smell, keep air assist high |
| Acacia / olive | 25–35% | 220–300 mm/s | Test per board, grain varies |
Use 300–500 DPI for text and line art, and drop to 250 DPI or lower for photograph-style raster work — higher DPI does not make wood engravings sharper, it just adds burn time and heat. Keep air assist on; it is the single cheapest way to stop flame-ups and reduce the brown halo around your marks. A compact machine like the M3050 Breeze or an M4060E Cyclone handles single boards easily, while an M6090E gives you room to engrave a batch of four to six boards in one nesting layout.
Masking, Cleanup, and Getting Crisp Lines
Masking is what separates an amateur board from a sellable one. Apply medium-tack paper transfer tape or painters tape over the engraving area before you run the job, burnish it down firmly at the edges, and engrave through it. The tape traps smoke residue on the surface instead of letting it settle into the surrounding grain, which means the brown "smudge ring" wipes away with the tape.
After engraving, peel the tape slowly at a low angle while the board is still slightly warm. If residue remains, wipe with a damp cloth, then follow with a light pass of a melamine sponge for stubborn haze. For deep char, a quick wipe with a diluted solution of water and a little baking soda lifts the darkening without bleaching the wood. Avoid aggressive sanding over engraved areas — it rounds the crisp edges of your lettering and lifts the contrast you just worked for.
Never run a board without checking flatness first. Boards cup, and a 2 mm bow across the surface changes focus enough to produce exactly the soft, uneven patch that ruins a monogram. Shim the low corners with thin cardboard or use a simple three-point jig so the surface stays level under the head.
Design and Layout Choices That Sell
Keep the design big and centered. Names, established dates, a simple family monogram, and a small wheat or leaf flourish consistently outperform busy artwork on kitchen items. Thin script fonts look elegant on screen but often disappear when engraved, because the beam widens the stroke and shallow curves scorch. Choose a heavier weight of the same script, or use a clean serif with generous stroke width.
Engrave away from the board's cutting surface when you can — a juice groove, a border, or the handle end are all safe placements that keep the mark away from knife scars. If a customer wants the whole face engraved, tell them honestly that knife marks will eventually cross the design; most buyers are happy with a corner or end placement once you explain why.
For repeat orders, build a reusable jig: a plywood frame with two fixed fences and a removable stop block. Every board of the same size drops into the same position, so your artwork origin never changes and you skip re-measuring between jobs.
- Use bold or medium-weight fonts, minimum 3 mm stroke
- Center on the handle end or inside the juice groove
- Build a fence jig for repeat sizes
- Save a template file per board size with the origin marked
Finishing, Food Safety, and Pricing
The engraved area is fine for food contact once cleaned, but the surrounding board needs protection. Let the board cool, wipe away all residue, then apply a food-safe finish — fractionated coconut oil, mineral oil, or a beeswax-and-oil blend. Let it soak, wipe the excess, and repeat once. Never use a film-forming finish like polyurethane on a board that will be cut on; it flakes into food.
For pricing, work backward from materials and time. A mid-size maple board costs roughly $8–15 wholesale plus ten minutes of machine time and five minutes of finishing, and typically retails in the $35–75 range depending on size and wood, with walnut and end-grain at the top of that band. A handwritten recipe transfer adds $5–10 at very high margin, because the customer supplies the artwork. Ship with a small care card explaining hand-wash-only care and monthly oiling, and photograph each board with raking side light so the engraving reads clearly.
FAQ
Q: Why does my engraving look lighter on some boards than others with the same settings?
Wood is a natural material, and even boards sold as the same species vary in density, moisture content, and grain orientation. A board that has been stored in a damp garage holds more moisture, absorbs more heat, and engraves lighter than a dry one. Finish or oil already applied to the surface also changes how the beam interacts with the fibers. Store blanks indoors for a week before engraving, keep a test offcut from each batch, and re-run your power grid whenever you open a new box of boards.
Q: Can I cut a cutting board shape from a larger sheet instead of buying blanks?
You can, but be realistic about thickness. Cutting through 18–20 mm hardwood on a home-shop CO2 laser is slow and produces heavy charring on the cut edge that needs considerable sanding. Engraving purchased blanks is far faster and gives a cleaner result. If you want shaped boards, cut the outline in 6 mm material for serving trays and cheese boards where the edge is decorative, and reserve thick cutting boards for engraving only.
Q: Is engraved wood safe for food contact?
Yes, once the loose char is removed and the board is finished with a food-safe oil. The laser does not add anything to the wood — it only removes material and caramelizes the surface. The real risks are leftover soot and inappropriate finishes, so clean thoroughly and avoid film finishes on cutting surfaces.
Start Your Next Board Tonight
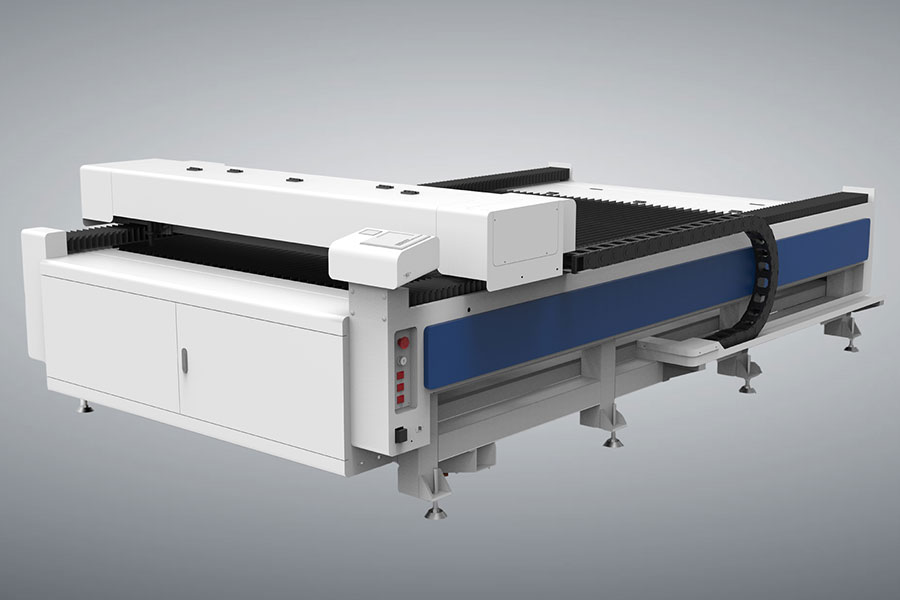
Pick one species, build a power grid on an offcut, and store the winning settings in your material library — that single habit will save you more boards than any other change. If you are choosing a machine for kitchenware work, a bed large enough to nest several boards at once pays for itself quickly, and you can compare sizes in the Redsail laser cutter range. For larger-format production work, see the HF Laser cutter range.

- National hotline: +86-531-86516855/56/57
- Enterprise mailbox:sales@redsaillaser.com
- Address: Room 402E, Tower D, Yinhe Building, 2008 Xinluo Avenue, Shunhua Road Subdistrict, Jinan Area, China (Shandong) Pilot Free Trade Zone


Redsail Tech Co. © 2002-2026. All Rights Reserved.