
Why Curved Surfaces Need a Rotary
A flat laser bed assumes your material sits in one plane, but a tumbler or bottle is a cylinder that rolls away from the beam as it turns. A rotary attachment solves this by spinning the drinkware so every point of the curve passes under the laser at a constant focus. This article explains how to set one up and dial in clean marks.
Rotary laser engraving opens one of the most popular product lines in the maker world: personalized drinkware for weddings, teams, and small businesses. With the right fixture and settings, stainless steel and coated bottles take a permanent, dishwasher-safe mark that customers love. Below we cover mounting, focus, settings, and common fixes.
Mounting the Rotary Attachment
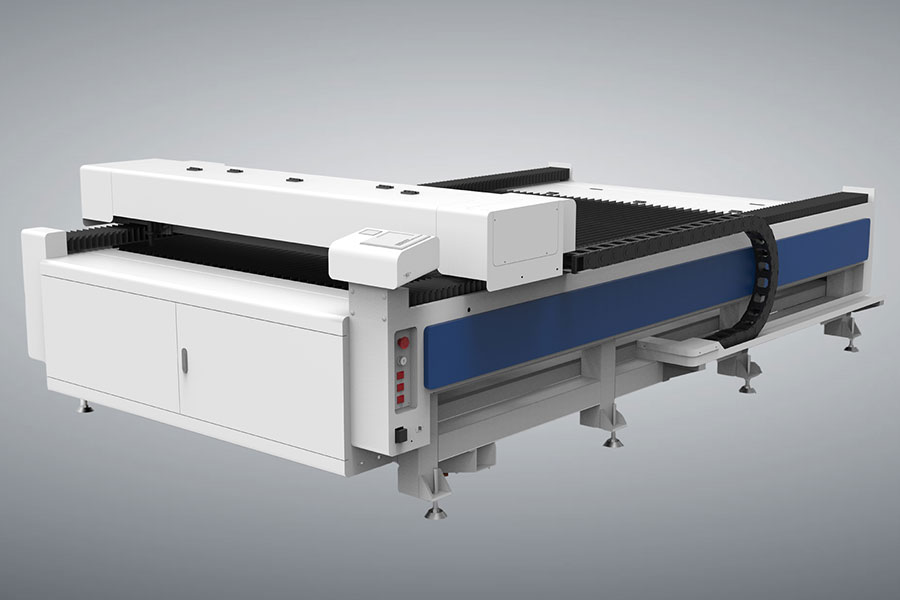
Start by removing the honeycomb or blade bed and placing the rotary rails across the cabinet, aligned with the roller axis. Most Redsail cabinets accept a chuck or roller style rotary that sits level on the work surface. Make sure the unit is seated square or your marks will drift along the curve during a long engraving pass.
Set the tumbler between the rollers or in the chuck so it spins freely without wobble. The object should be centered under the laser head's travel path, and the seam or handle should face away from the engraving area. Tighten gently; over-clamping a thin bottle can dent it and ruin an otherwise perfect blank.
Connect the rotary to the machine's control port and switch the software to rotary mode. You will enter the object's diameter so the controller can convert linear motion into rotation. Double-check the diameter reading because a small error stretches or compresses the artwork on the curve and throws off the whole layout.
Once mounted, run a dry rotation with the laser off to confirm the tumbler spins true and does not walk sideways. A subtle wobble that is invisible at rest becomes a blurred engrave at speed, so catching it now saves a ruined blank and the frustration of diagnosing a problem that was mechanical rather than a settings issue.
Focusing on a Cylinder
Focus on a curved surface uses the same principle as flat work: the smallest beam makes the sharpest mark, but the distance is now measured to the tangent point under the head. Lower the head or raise the rotary until the dot is tightest at the top of the tumbler, then lock it in place before loading the file.
Because the surface curves away on both sides, keep artwork narrow enough that the edges stay near focus. A logo spanning the full wrap will soften at the far sides, so design for a panel roughly the height of the flat focal zone. This keeps contrast even across the mark and avoids a faded look at the edges.
Re-confirm focus whenever you change tumbler diameter, since a thirty ounce bottle and a slim sixteen ounce water bottle sit at different heights. A quick focus check takes seconds and prevents a wasted, half-burned product that cannot be resold once the coating is stripped or the metal is marked.
Settings for Common Drinkware
Stainless steel tumblers with a powder coat engrave by removing the color to reveal the metal beneath. Try four hundred to six hundred millimeters per second at thirty to fifty percent power for a crisp mark, and run a small test strip along the curve before the real job. Coated bottles behave similarly and reward a slightly higher speed.
Bare stainless without coating needs more energy and often a marking compound to achieve contrast. Apply a thin, even layer of laser marking spray, let it cure, engrave, then wash it off to reveal a dark permanent mark. This is the method for plain metal water bottles that look blank otherwise and disappoint a customer expecting a clear design.
Glass bottles and mugs engrave with a frosted look at low power and high speed, but they are fragile under heat, so keep power modest and avoid long fills. A wet paper towel over the area helps control fracturing and improves the frosted finish, a trick we cover in depth in our separate glass engraving guide for makers.
Sizing Artwork and Avoiding Wraps
Measure the printable height of the curve and design within it, leaving a few millimeters of margin top and bottom. Tall logos that exceed the focal zone blur at the edges, so shorten or split the design rather than forcing a full wrap on a first attempt with a new rotary setup.
For a name or monogram, center the text and preview the rotation in your software to confirm it sits level as the tumbler spins. Misaligned art looks tilted once engraved, and curved surfaces magnify small mistakes. A ten-second preview saves a ruined blank and the awkward conversation that follows with a paying customer.
When you want a full three hundred sixty wrap, accept that the very edges will be slightly softer and design accordingly, using bold artwork that reads even when not perfectly sharp. Many makers reserve wraps for patterns rather than fine text for exactly this reason, and their repeat orders stay happy.
Troubleshooting Common Issues
Most rotary problems trace back to setup rather than the machine itself. Before adjusting power or speed, re-seat the object, re-square the rails, and re-zero the rotation origin, because those three checks resolve the majority of uneven or slanted marks makers report in their first weeks.
- Uneven mark along the curve usually means the tumbler was not centered or the rotary was not square.
- Skipped lines suggest the roller is slipping; clean the rollers and tighten the grip slightly.
- Burned spots come from too much power or a stationary beam; lower power and raise speed.
- Slanted art points to an unlevel object; re-seat and re-zero the rotation origin.
- Fuzzy edges on coated tumblers mean the focus drifted; re-check focus for that diameter.
Keep a log of diameters and the settings that worked for each tumbler style you stock. Over a few weeks this becomes a fast reference that lets you start a batch without a test strip, which is exactly the efficiency a growing drinkware line needs to stay profitable and fun.
Cleaning and Caring for Finished Drinkware
After engraving, wipe the tumbler with a soft cloth to remove any dust or marking compound residue. For powder-coated blanks the mark is already sealed, but a quick wash with mild soap keeps the surface retail-clean. Avoid abrasive scrubbers that could dull the surrounding coating over time and make a fresh job look worn.
If you used marking spray on bare metal, rinse thoroughly and inspect under light to confirm no haze remains in the engraved area. A clean, contrast-rich mark is what earns a five-star photo, and photo quality drives repeat drinkware orders more than any other single factor in this product line once your shop gains traction.
Package engraved bottles upright in form-fitting inserts so they do not roll during shipping. A padded mailer and a simple care card telling the customer the mark is permanent yet the coating still needs gentle washing will reduce questions and build trust in your small business from the very first sale you ship.
Frequently Asked Questions
Q: Do I need a rotary attachment to engrave tumblers?
A: Yes, for cylinders. A rotary spins the tumbler so the curved surface passes the beam at constant focus. Without it the laser cannot hold focus on a rolling bottle, and the mark will be uneven or incomplete around the curve.
Q: What settings work for powder-coated tumblers?
A: Start around four hundred to six hundred millimeters per second at thirty to fifty percent power to strip the coating and reveal the metal. Run a short test on the curve first, because coating thickness varies between brands and finishes you will encounter.
Q: Can I engrave plain stainless water bottles?
A: You can, but bare metal needs more energy and often a marking compound for contrast. Apply laser marking spray, engrave, then wash it off to leave a dark, permanent mark on the bottle that survives daily use and washing.
Curved drinkware is one of the most rewarding lines a maker can add, and a rotary tool pays for itself quickly through repeat orders. Start with coated tumblers, log your settings, and let the requests grow. For higher-volume production cutting, also check our sister brand's industrial laser cutter range.

- National hotline: +86-531-86516855/56/57
- Enterprise mailbox:sales@redsaillaser.com
- Address: Room 402E, Tower D, Yinhe Building, 2008 Xinluo Avenue, Shunhua Road Subdistrict, Jinan Area, China (Shandong) Pilot Free Trade Zone


Redsail Tech Co. © 2002-2026. All Rights Reserved.