
Why Acrylic Needs a Little Care
Laser cut acrylic is gorgeous when it is fresh off the machine, with edges that glow and surfaces that look like glass, but it is also a soft plastic that scratches and hazes if you treat it like wood or metal. The good news is that a few simple habits keep your projects looking showroom new for years. Acrylic care is mostly about what you avoid as much as what you do.
In this guide you will learn how to clean acrylic safely, how to store pieces so they do not scratch or warp, and how to polish acrylic edges back to clarity after cutting or handling. We will also cover the everyday mistakes that turn a crisp project cloudy. By the end you will know how to protect your work from the workshop to the customer's shelf.
Cleaning Acrylic the Safe Way
The fastest way to ruin clear acrylic is to wipe it with a paper towel and a household spray, because both the towel and the ammonia in glass cleaner scratch and cloud the surface. To clean acrylic properly, use a soft microfiber cloth and either plain water or a cleaner made specifically for plastics, applied with a gentle touch and no rubbing pressure.
Start by blowing off loose dust with compressed air or a soft brush so you are not dragging grit across the face. Then wipe in straight, light passes rather than circles, which tend to leave swirl marks. If there is sticky residue from tape, dab it with a little isopropyl alcohol on the cloth rather than soaking the piece, because prolonged alcohol contact can craze some acrylic formulations.
For display pieces that get handled often, a quick weekly dusting with a dry microfiber is enough, and a deeper clean only when you see fingerprints. Less handling means fewer scratches, which is the real secret of acrylic care over the long term.
Storing Pieces Without Scratches
How you stack and store laser cut acrylic matters as much as how you clean it. Always keep the factory protective film on until the piece is finished and ready to ship, because that film absorbs the scuffs that would otherwise mar the surface. Between cuts, lay flat pieces face to face with a sheet of tissue or clean paper between them so the edges do not gouge the faces.
Upright storage works for thin panels if they are supported along their full height, but leaning them at an angle invites bowing, especially in a warm room. For acrylic storage, keep pieces in a cool, dry place out of direct sun, because heat can warp thin stock and UV slowly yellows some formulations. A simple flat bin with dividers keeps charms and small cut parts from rattling against each other.
If you ship acrylic, sandwich it between rigid boards and pad the corners, because a bent parcel transfers pressure that snaps thin sections. A little foam and a rigid mailer cost pennies and prevent the heartbreak of a cracked order arriving at a customer's door.
Polishing and Restoring Edges
The edges are where laser cut acrylic shows its character, from a frosted matte line to a glassy clear bevel, and they are also where handling leaves marks. Light haze on an edge can be refreshed with a fine plastic polish and a soft cloth, worked in small circles until the clarity returns. For a truly glassy edge, a flame polish with a controlled heat gun or torch briefly melts the surface smooth, but practice on scrap because too much heat waves the acrylic.
Mechanical options include a small buffing wheel loaded with plastic compound, which is safer for beginners than an open flame and gives consistent results on batches of charms. Whichever method you choose, mask the faces first so you do not polish the areas you want to stay matte or engraved. Polish acrylic edges as the final step, after all cleaning and assembly, so you are not redoing them later.
Remember that engraved or frosted surfaces should not be buffed to a shine unless that is the look you want; the contrast between a clear edge and a frosted face is often the whole appeal of the design. Decide the finish on purpose rather than by accident.
Preventing Yellowing and Haze Over Time
Most modern cast acrylic is UV stabilized and stays clear for many years, but cheap extruded stock and some adhesives can yellow, especially near windows. Keep finished pieces out of sustained direct sunlight and away from heat sources like spotlights, and choose UV-stable materials when you know an item will be displayed in a bright room.
Haze that appears under tape or around glued joints is usually adhesive or cleaner residue rather than damage, and it often comes off with a careful wipe using the right plastic-safe product. Avoid solvent glues that bloom, and prefer acrylic-specific cement that welds the joint without leaving a milky ring. Good acrylic care includes choosing the right assembly chemistry, not just the right cloth.
If a piece does yellow slightly, it is rarely reversible, which is why prevention beats correction. Build material choice and placement into your standard process so every order leaves with the best chance of aging well.
A Simple Care Routine to Ship With
Give every customer a one-line care note: dust with a dry microfiber, clean with plastic-safe spray, never use window cleaner, and keep out of prolonged sun. That tiny insert reduces returns and makes your work look professional, because buyers appreciate knowing how to clean acrylic without ruining it.
For your own workshop, adopt a standing routine: keep film on until finished, store flat with dividers, polish edges last, and inspect under good light before packing. When acrylic storage and handling become habits rather than afterthoughts, your reject rate drops and your finished projects consistently look like the render.
Treat acrylic with respect and it rewards you with a premium look that justifies a premium price, whether you are making signs, charms, or display stands.
Transporting Finished Acrylic Safely
Even a perfectly finished piece can arrive damaged if it is not packed with the material in mind. Acrylic is rigid but notch-sensitive, meaning a small corner impact can start a crack that runs across the whole part, so rigid support matters more than soft padding alone. Sandwich flat items between two pieces of cardboard or thin wood and tape the assembly closed so nothing shifts inside the parcel.
For curved or standing items like sign bases, build a simple insert from scrap foam or crumpled paper that holds the shape and stops it rolling, and mark the box this way up so handlers do not stack weight on a delicate edge. Good acrylic storage discipline does not end at your bench; it continues through the courier's hands and ends only when the customer unwraps a flawless piece. A few minutes of careful packing protects hours of cutting and finishing work.
Frequently Asked Questions
Can I use Windex or glass cleaner on acrylic?
No. Most glass cleaners contain ammonia, which clouds and cracks acrylic over time, and paper towels scratch it. To clean acrylic safely, use a plastic-specific cleaner or plain water with a soft microfiber cloth and light, straight wipes. This single change prevents most long-term haze.
How do I make laser cut edges clear again?
Light haze can be removed with fine plastic polish and a soft cloth, while a glassy finish comes from flame polishing or a buffing wheel with plastic compound. Always mask the faces and do edge work last. Practice on scrap first, because too much heat will wave the acrylic.
What is the best way to store acrylic projects?
Keep the protective film on, store flat with tissue between faces, and keep pieces in a cool, dry, sun-free spot to avoid warping and yellowing. For acrylic storage before shipping, rigid mailers and foam corners prevent thin sections from snapping in transit.
Get Started Today
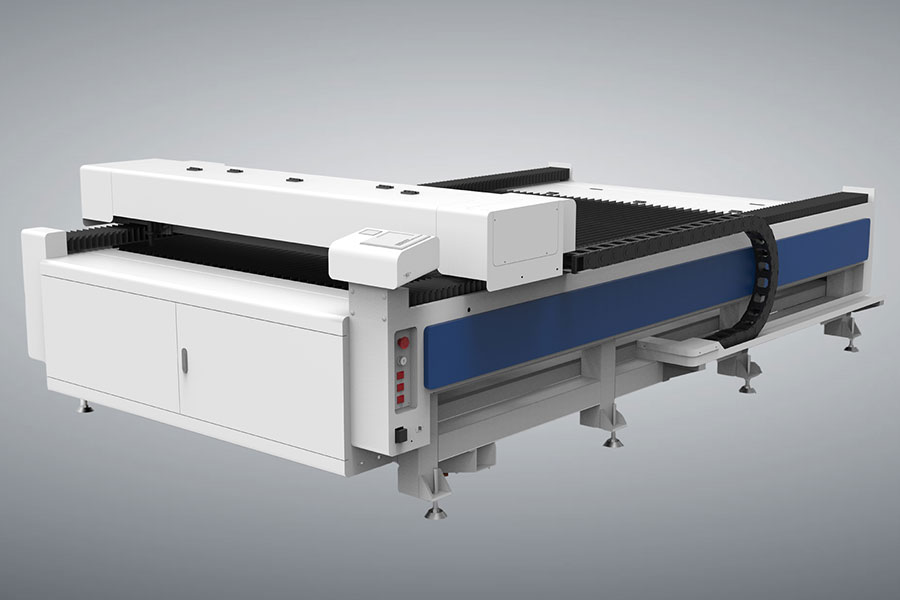
Caring for your acrylic is the difference between a project that impresses on day one and one that still looks great a year later. Build these cleaning and storage habits into every order and your customers will notice the quality. Explore the Laser Cutter lineup at RedSail to find a machine that cuts acrylic cleanly enough to need almost no finishing.
For higher-volume production cutting, explore the HF Laser industrial CO2 laser cutter lineup.

- National hotline: +86-531-86516855/56/57
- Enterprise mailbox:sales@redsaillaser.com
- Address: Room 402E, Tower D, Yinhe Building, 2008 Xinluo Avenue, Shunhua Road Subdistrict, Jinan Area, China (Shandong) Pilot Free Trade Zone


Redsail Tech Co. © 2002-2026. All Rights Reserved.