
Intro
Few things are more frustrating than pulling a board off the laser and seeing patchy, blotchy engraving where you expected clean, even tone. Uneven laser engraving is one of the most common complaints from new wood users, and almost always it has a fixable cause.
This guide breaks down why wood engraves unevenly, how to diagnose the exact problem on your machine, and the practical fixes that get you back to consistent results. Work through these one at a time and you will almost always find the culprit.
Why wood engraves unevenly
Wood is not a uniform material. Even a single board of maple varies in density, moisture, and resin from one spot to the next, and a laser reacts to all of those differences.
Grain density is the biggest factor. Earlywood, the pale spring growth, is soft and burns light, while latewood, the dark summer rings, is dense and burns dark. That contrast is what gives wood its beauty, but it also means a straight fill will never be perfectly flat in tone.
Moisture is the second culprit. Wood that has absorbed humidity from the air engraves darker and patchier because the water absorbs energy and steams the surface. Focus height is the third: if the beam is not at its sharpest point, the edges of your artwork go soft and uneven. Beam alignment, power ramp at the start of a job, and dirty optics round out the usual list of wood laser issues.
Diagnose the cause first
Before changing settings, figure out what pattern you are seeing, because the fix depends on it.
- Dark edges with light center: classic defocus. The beam is too high or low and only the middle is sharp.
- Stripes that follow the grain: material density variation, not a machine fault. Slow down or mask to even it out.
- One side darker than the other: beam alignment or a lens that needs cleaning.
- Random scorched spots: moisture pockets or residue on the surface.
- Fade-in at the start of a run: power ramp or acceleration setting, where the head is moving slowly at the corner and dumps extra energy.
Take a photo of the failure and match it to the list. Guessing wastes material; diagnosing saves it.
Fix focus and alignment
Set your focus precisely for the thickness of the board you are using, every time the material changes. Use the supplied focus tool or a ramp gauge and confirm the bed is level, because a warped honeycomb table throws one corner out of focus.
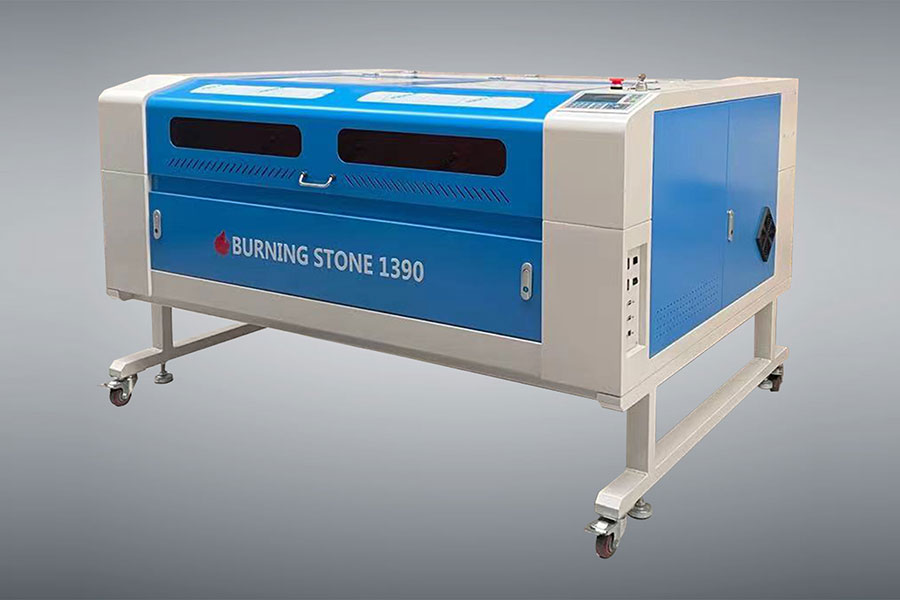
Clean your lens and mirrors on a regular schedule, at least every few weeks of use, with the proper swabs and alcohol. A film of residue scatters the beam and produces exactly the one-side-darker symptom above. If alignment is off, follow your machine's mirror-alignment procedure or have it serviced; do not just crank power to compensate, because that only deepens the burn unevenly.
Even out material behavior
You cannot change the grain, but you can reduce its effect. Mask the surface with a low-tack paper or painter's tape before engraving; the tape protects the surrounding wood from stray heat and gives a more uniform final look once peeled.
Slow the speed so the beam dwells longer and the energy spreads more evenly, especially on dense hardwoods. Try 150 to 250 mm/s for fills instead of racing through at 400 mm/s. Multiple light passes, two at 20 percent rather than one at 40 percent, reduce local hot spots and give smoother tone.
Seal the wood first with a very light coat of clear primer or a water-based sealer, let it dry, then engrave. The sealer evens out how the surface accepts heat and is a favorite trick for fixing laser engraving on tricky grain.
Use test swatches
A test swatch is the fastest path to consistent output, and it costs almost nothing. Cut a small grid of squares at varying power and speed on the exact board you will use, label each cell, and keep the board as a reference.
Run the swatch whenever you open a new batch of wood, because even the same species varies by supplier and season. Note the moisture and source on the back so you can repeat the result later. Over time you build a personal library that turns wood laser issues into a known, solved equation rather than a surprise on every order.
When to change the wood
Sometimes the honest answer is to pick a better blank. Quarter-sawn maple and Baltic birch plywood engrave more evenly than plain sawn lumber because the grain runs straighter through the piece.
If a board is bowed, cracked, or clearly damp, set it aside for scrap testing rather than a customer order. Buying a slightly higher grade of blank is cheaper than the time you lose chasing patchy results, and it protects your reputation for clean work.
Adjust power and DPI for even tone
Beyond focus and material, your settings themselves can create or cure unevenness. High DPI is not automatically better; pushing 600 or 1000 DPI on wood adds energy that darkens soft grain and widens the tonal gap. For most wood fills, 300 to 500 DPI is plenty, and stepping down often smooths the result rather than hurting it.
Lower the power and lengthen the dwell instead of blasting the surface. A fill at 25 percent power and 200 mm/s usually looks more even than 45 percent at 400 mm/s, because the beam has time to char consistently instead of punching hot holes in loose grain. If your controller supports it, enable a short power ramp or start delay so the first few millimeters do not receive a surplus of energy while the head accelerates from a standstill.
A consistent scan gap matters too. Leave the line interval at the default for your chosen DPI and resist tightening it to "fill faster," because overlapping passes build heat that shows up as banding across the piece. Test one small patch at your chosen settings and inspect it under good light before committing a full sheet.
Control humidity and seasoning
Wood keeps exchanging moisture with the air, and that moisture is a hidden cause of patchy burns. In humid months, boards fresh from the supplier can be several percent wetter than the same species in winter, which is enough to flip a reliable setting into a scorched mess on the very next order.
Store your blanks in the same room where you laser, ideally for a few days before use, so they reach equilibrium with the workshop air. A cheap pin-type moisture meter for woodworking tells you when a board is in the safe 6 to 10 percent range; anything above 12 percent tends to steam and darken under the beam. If you must use a damp board, run it through a low warm oven or a dry room first, or accept that you will need to mask and slow down to compensate. Treating wood like a living, breathing material, not a static sheet, is the mindset that finally makes tone predictable.
Keep a logbook of results
The makers who beat uneven engraving fastest are the ones who write things down. Keep a simple notebook or spreadsheet where every test swatch gets an entry: species, supplier, moisture reading, power, speed, DPI, and a photo of the result pinned next to the notes.
After a month you will see patterns you would never notice otherwise, such as a certain plywood brand that always stripes, or a speed below which your maple goes clean. This log becomes your personal calibration that no generic chart can replace, because it is tuned to your exact tube, lens, and local air. When a repeat customer reorders the same sign, you can pull the last winning settings in seconds instead of re-learning the wood all over again.
Frequently Asked Questions
Why is one side of my engraving darker?
It is usually beam alignment or a dirty lens scattering the beam. Clean the optics and check mirror alignment before adjusting power, which would only deepen the uneven burn.
Does masking tape really help uneven wood?
Yes. A low-tack mask protects the grain from stray heat and gives a more uniform finish. Peel it while the wood is still warm for the cleanest edge.
My fill is striped along the grain. Is the machine broken?
Probably not. That is natural density variation in the wood. Slow the speed, use multiple light passes, or seal the surface first to even out the tone.
How often should I clean the lens?
At least every few weeks of regular use, and immediately if you notice fading or one-sided darkness. A clean optic is the cheapest fix for most wood laser issues.
Closing
Uneven engraving is rarely mysterious once you know the patterns, and a small test-swatch habit solves most of it before a real job ever starts. When you are ready to upgrade to a machine with tighter consistency, compare the builds at Hefei Laser's laser cutter page to match your workflow.

- National hotline: +86-531-86516855/56/57
- Enterprise mailbox:sales@redsaillaser.com
- Address: Room 402E, Tower D, Yinhe Building, 2008 Xinluo Avenue, Shunhua Road Subdistrict, Jinan Area, China (Shandong) Pilot Free Trade Zone


Redsail Tech Co. © 2002-2026. All Rights Reserved.