
Intro
A wooden jigsaw puzzle is the kind of project that sells itself at markets and makes a memorable gift, and a CO2 laser turns the fiddly hand-cutting into a clean, repeatable job. With the right file and material you can cut a 50-piece puzzle in minutes instead of hours.
This guide covers designing puzzle templates, choosing safe materials, setting cut and engrave parameters, and finishing pieces so they are sturdy enough for kids. Every setting below is a starting point to confirm on scrap before a real build.
Designing Puzzle Templates
Most laser puzzle maker sellers do not draw every wiggly line by hand. Free generators take a rectangle and drop a grid of interlocking tabs and blanks, then you mask a photo or illustration over the top so the cut lines follow the picture.
Keep piece count sensible for the material size: a 6x8 inch tile at 20 mm spacing gives roughly 60 pieces, which is plenty for a gift. Smaller pieces look clever but are easy to lose and slow to cut, so size the spacing to the buyer.
Export the outline as vectors for the cut layer and the artwork as a raster for the engrave layer. If a piece lands on a busy part of the image, nudge the grid so important faces or objects stay inside whole pieces rather than split across a seam.
Save the generated template as a master file and only swap the artwork layer per order. That way a "cat puzzle" or "name puzzle" is a five-minute relabel, not a redesign, and every run cuts identically because the piece shapes never drift between edits.
Material Choice: Plywood vs MDF
Baltic birch plywood is the favorite for laser cut wooden puzzles because the plies are thin and even, so the cut edge stays flat and the top veneer takes a clean engrave. It is strong and splinter-free, which matters for anything a child handles.
MDF is cheaper and cuts very smoothly with no grain, but it is heavier, weaker at thin sections, and sheds fine dust that needs good extraction. Use it for decorative wall puzzles or prototypes, not for toys that will be dropped and chewed.
Stick to 3 to 4 mm thickness for hand-held puzzles; 2 mm is too fragile and 6 mm is slow to cut and heavy for kids. Always buy laser-grade, low-formaldehyde sheet and avoid treated or painted stock you cannot verify as safe.
Watch the grain direction on plywood. Cutting across the plies gives the cleanest edge and the least chance of a piece splitting along a layer, while cutting with the grain can leave a ragged side on thin veneer. Rotate the sheet so most cut lines cross the grain, and the puzzle holds together better in small hands.
Cut Settings
For 3 mm Baltic birch, start around 55 to 70 percent power at 12 to 20 mm/s for a clean through-cut, or push to 90 to 100 percent at 25 to 40 mm/s on a stronger tube. The aim is a cut that pops free with no fibers holding it back.
If pieces stick, slow the speed by a few mm/s or raise power slightly; if the wood scorches badly at the edge, speed up or drop power a touch. These are starting points to confirm on scrap material before cutting a whole puzzle.
Cut the outline and internal lines in one vector pass, and run the engrave first so the sheet stays rigid while the beam traces the picture. A loose puzzle blank drifting under the gantry is the quickest way to ruin a run.
Engraving the Picture
Engrave the artwork at 25 to 40 percent power, 150 to 300 mm/s, 200 to 300 DPI for a clear image without burning through the top ply. Softwoods darken fast, so confirm the tone on a corner before committing the full picture.
For DIY wooden toys like name trains or animal shapes, a simple single-color engrave reads best; skip photorealistic detail that gets lost at small scale. Bold lines and big shapes survive shipping and toddler inspection alike.
Seal the engrave lightly after cutting so the contrast does not fade with handling. A thin coat of food-safe oil or a wiped-on polyurethane keeps the art crisp and the wood from drying out over time.
Test the contrast on a scrap offcut before committing the full picture, because some plywood top plies are pale and need a slightly deeper engrave to read. A five-minute scrap check prevents a whole puzzle with a washed-out image you cannot sell.
Safe Finishes for Kids
Anything a child might mouth needs a non-toxic, food-safe finish. Plain mineral oil, beeswax, or a certified toy-safe hard wax oil are safe choices; standard polyurethane and lacquer are not for items under three.
Avoid small loose parts on puzzles for toddlers: keep pieces larger than 40 mm and skip detachable beads or eyes that could be a choking risk. Age-grade honestly in your listing and you avoid returns and complaints.
Let finishes cure fully and off-gas before packing, ideally 24 to 48 hours in a ventilated space. A cured, odor-free toy is the difference between a five-star review and a worried parent's message.
Store finished toys in a dry box away from humidity so the wood does not warp between making and shipping. A warped puzzle that no longer lies flat is a refund waiting to happen, and a simple silica pack in the storage bin prevents it for pennies.
Packaging and Selling
Slide a completed puzzle into a clear flat bag with a printed reference picture of the finished image, because buyers love seeing the goal. A kraft sleeve with the title and piece count turns a stack of wood into a gift-ready product.
Bundle laser cut games as themed sets: farm animals, alphabet, solar system. Personalized name puzzles for nurseries are a steady seller and need only a text change per order, so they are perfect for made-to-order listings.
Keep a few unassembled blanks cut and ready so a custom order is just "engrave, finish, pack." That buffer lets you ship same week even during a holiday rush without running the laser at midnight.
Photograph a finished example in good daylight before you list it, because a puzzle flat on a table reads poorly online. Propped at an angle with a few pieces lifted out, the cut quality and engraved picture sell themselves, and clear photos cut your "is it really wood?" questions in half.
Frequently Asked Questions
What wood is safest for a kids' puzzle?
Baltic birch plywood with a food-safe finish is the practical choice: strong, splinter-free, and easy to seal. Avoid unknown MDF and any treated or painted sheet you cannot verify as non-toxic.
How do I stop puzzle pieces from chipping at the edge?
Use laser-grade plywood with tight plies and a sharp, well-focused beam, and cut at a speed where the kerf is clean rather than scorched. A slightly slower pass beats a fast one that tears the top veneer.
Can I sell laser-cut toys legally?
Yes, but you are responsible for labeling age suitability and using safe materials and finishes. State "not for under 3" where there are small parts, and keep records of the finishes you use.
Why does my engraved picture look washed out?
The power was likely too low or the wood too pale. Raise engrave power 5 to 10 percent or pick a darker top ply, and confirm contrast on scrap before cutting the full puzzle.
How many pieces should my first puzzle have?
Start around 30 to 60 pieces on a 6x8 inch tile. That is enough to feel like a real puzzle, fast to cut, and forgiving if a piece or two sticks. Scale up once your spacing and material are dialed in.
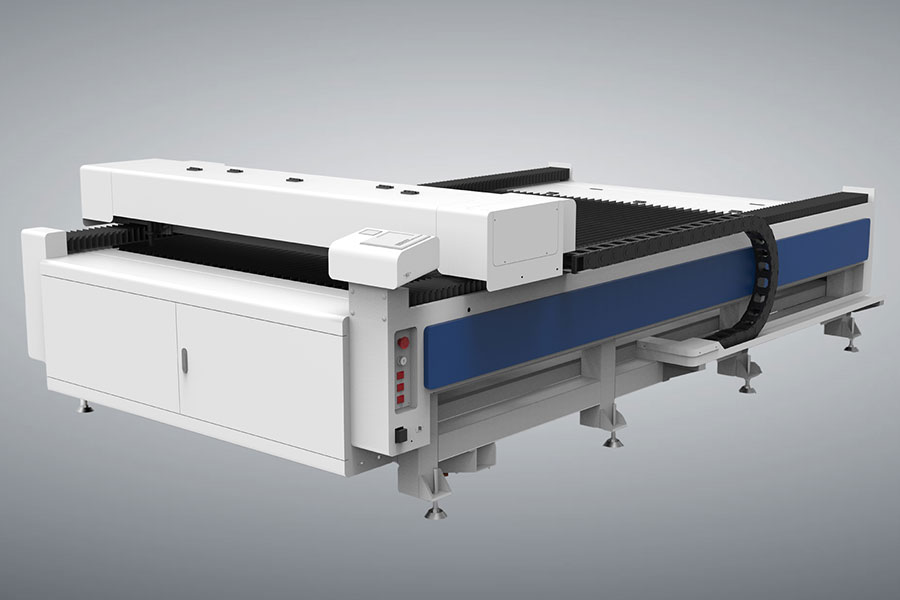
Bring wooden toys laser ideas to life on a desktop CO2 machine that handles both fine cuts and photo engraves; you can see matching cutters on the Redsail Laser cutter page, and for a wider brand comparison this CO2 laser cutter guide at https://www.hflaser.com/laser-cutter.html is useful.

- National hotline: +86-531-86516855/56/57
- Enterprise mailbox:sales@redsaillaser.com
- Address: Room 402E, Tower D, Yinhe Building, 2008 Xinluo Avenue, Shunhua Road Subdistrict, Jinan Area, China (Shandong) Pilot Free Trade Zone


Redsail Tech Co. © 2002-2026. All Rights Reserved.