
Acrylic Is Unforgiving
Laser-cut acrylic looks like glass because it behaves a bit like it: it scratches, it clouds, and it attracts static dust that clings to every surface. A flawless cut can look tired by the time it reaches a customer if it is stored or cleaned the wrong way. The good news is that acrylic also polishes back beautifully when you know the method and take a little care, so most damage is avoidable rather than permanent.
Whether you sell keychains, signs, or display stands, how you handle acrylic after the cut decides how premium it looks in the buyer's hand. A few simple habits protect both the piece and your reputation, and they cost almost nothing to adopt into your daily routine once they become muscle memory.
Store It Flat and Separate
Never stack bare acrylic pieces face to face; the surfaces scuff on contact and the static pulls in dust you then struggle to remove. Layer with tissue or a soft cloth between pieces, and keep them flat so thin stock does not bow under its own weight. A lidded bin or a drawer lined with felt keeps a small inventory scratch-free between orders and ready to ship the moment a customer pays.
Keep acrylic out of direct sun and away from heat. It is a thermoplastic, so a hot shelf or a sunny windowsill can warp thin parts and haze the surface over time. A cool, shaded storage spot preserves both clarity and dimensional accuracy for months, which matters when you store acrylic projects that a customer expects to arrive pristine and square.
Sort by size and color as you store, not just by material. A bin where every shape is jumbled means you dig through pieces to find one, and that digging is exactly when edges knock together and pick up scuffs. Tidy storage is the cheapest insurance against damage you cannot easily undo.
Clean Without Scratching
Skip paper towels — they are abrasive and leave fine swirls that catch the light at every angle. Use a microfiber cloth and either a dedicated acrylic cleaner or a mild soap-and-water mix. Spray the cloth, not the piece, and wipe gently in one direction rather than rubbing in circles, which only spreads the grit you are trying to lift away and grinds it into the surface.
Never use glass cleaner that contains ammonia; it cracks and clouds acrylic over time. If a piece is already cloudy from the wrong product, that damage is usually permanent, so the rule is simple and worth printing on a care card: acrylic-safe only. When in doubt, plain water and a soft cloth are always safe to clean acrylic without risk to the finish or the edge.
For pieces with engraved or etched detail, clean with extra care around the recesses where cleaner can pool. A soft brush or the corner of the microfiber lifts residue from the grooves without rounding the crisp edges that make the engraving readable, and that detail is what buyers inspect first.
Build a small cleaning station so the right supplies are always within reach: a bottle of acrylic-safe cleaner, a stack of labeled microfiber cloths, and a separate rag reserved only for dusty pieces. Mixing cloths is how a gritty one finds its way to a clean part, so keeping them apart is a tiny habit that prevents the most common scratch and saves a finished order from a careless wipe.
Restore a Cloudy Edge
A laser-cut edge can turn frosted if it was cut too fast or with weak air assist, and handling can dull it further. For a clear, glass-like edge, flame-polish carefully with a small torch passed quickly along the cut, or use a plastic polish and a soft cloth for a gentler buff. Edge-lit signs in particular need a clear edge to glow, so this acrylic edge polish step pays for itself on premium work where the light path is the whole point.
Test any polish on a reject first, because some compounds haze certain tints and colors. A light, patient buff beats a hard scrub every time, and a rotary buffing wheel at low speed can speed up a production run without overheating the plastic or melting the edge you worked to keep crisp and transparent.
If you flame-polish, practice the pass speed on scrap until the edge goes clear without bubbling, because too slow a torch melts the acrylic into a rounded mess. A confident, quick stroke is the skill that separates a pro finish from a ruined part, and it is worth the hour of practice before a real order.
Pack for the Impression
The unboxing is part of the product. Wrap acrylic in anti-static tissue or a soft sleeve, never loose in a bag where it rattles against itself and picks up scratches. A rigid mailer stops thin signs from bowing in transit, and a small care card — "wipe with a soft cloth, avoid ammonia" — reads as professional while cutting "it arrived scratched" messages that hurt your rating and your refund rate.
Presentation sells the next order as much as the cut itself. Buyers remember the feel of a clean, well-packed piece, and that memory is what brings them back and earns the referral that grows a maker business faster than any ad spend you could buy with the margin.
Consider a branded sticker or a simple folded note in the package. It costs pennies, signals a serious seller, and gives the buyer a reason to photograph the unboxing and tag you, which is free marketing you would otherwise pay for to reach the same audience.
Know Cast From Extruded
Cast acrylic polishes and lasers more cleanly and resists crazing better than extruded stock, so it is the better choice for premium work and edge-lit designs. Extruded sheet is cheaper and fine for painted or covered parts, but it can bubble near engraves and cloud more easily with the wrong cleaner. Buy from a known supplier so you know what you are getting into each batch and can promise a consistent result.
Label your offcuts by type as you go. Mixing cast and extruded in the same bin leads to inconsistent results and confused reorders, and a simple sticker system keeps your laser cut acrylic care routine reliable across every job, so the next plate you grab is always the right one for the finish the customer asked for.
When a buyer wants the clearest possible edge, default to cast and say so in the listing. Setting that expectation up front prevents disappointment and positions you as the seller who knows the difference, which is exactly the expertise customers pay a premium to access.
FAQ
Why did my clear acrylic turn yellow?
Usually UV or ammonia exposure, or cheap stock. Use cast acrylic for long-term clarity and keep it out of harsh cleaner and direct sun.
Can I remove light scratches?
Yes, with plastic polish and a soft cloth, or a fine buffing wheel at low speed. Deep scratches need flame polish or sanding back through grits.
How do I stop static dust?
Wipe with an anti-static cloth and store in a closed container; a dryer-sheet wipe on the bin helps cut the static that attracts dust.
Get Started
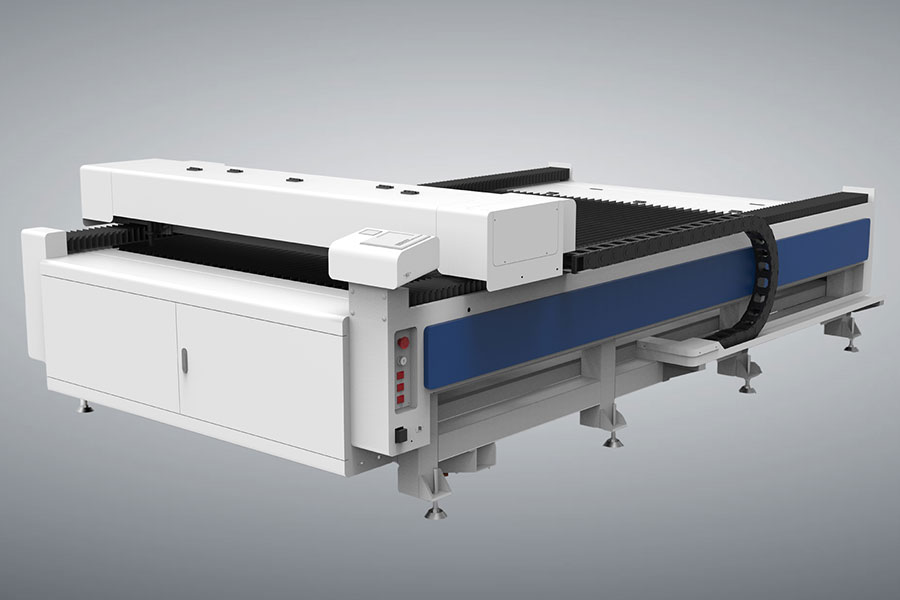
Store flat with soft layers, clean only with acrylic-safe products, and polish edges for glow. Care after the cut keeps acrylic looking like glass. For volume acrylic cutting on bigger sheets, industrial flatbed CO2 lasers at HF Laser handle the load.

- National hotline: +86-531-86516855/56/57
- Enterprise mailbox:sales@redsaillaser.com
- Address: Room 402E, Tower D, Yinhe Building, 2008 Xinluo Avenue, Shunhua Road Subdistrict, Jinan Area, China (Shandong) Pilot Free Trade Zone


Redsail Tech Co. © 2002-2026. All Rights Reserved.